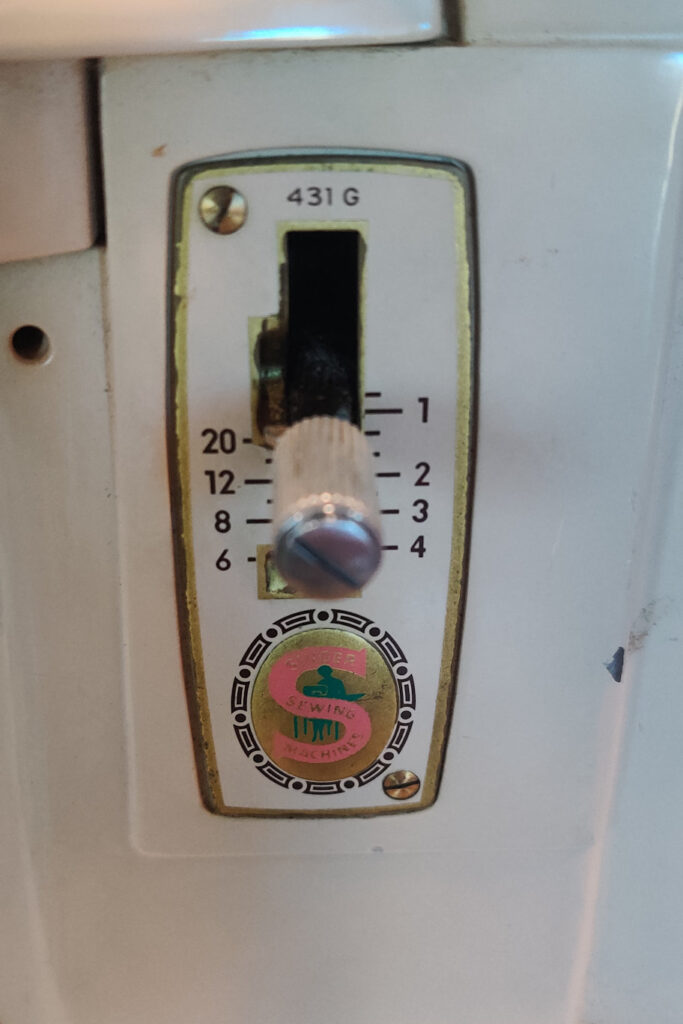
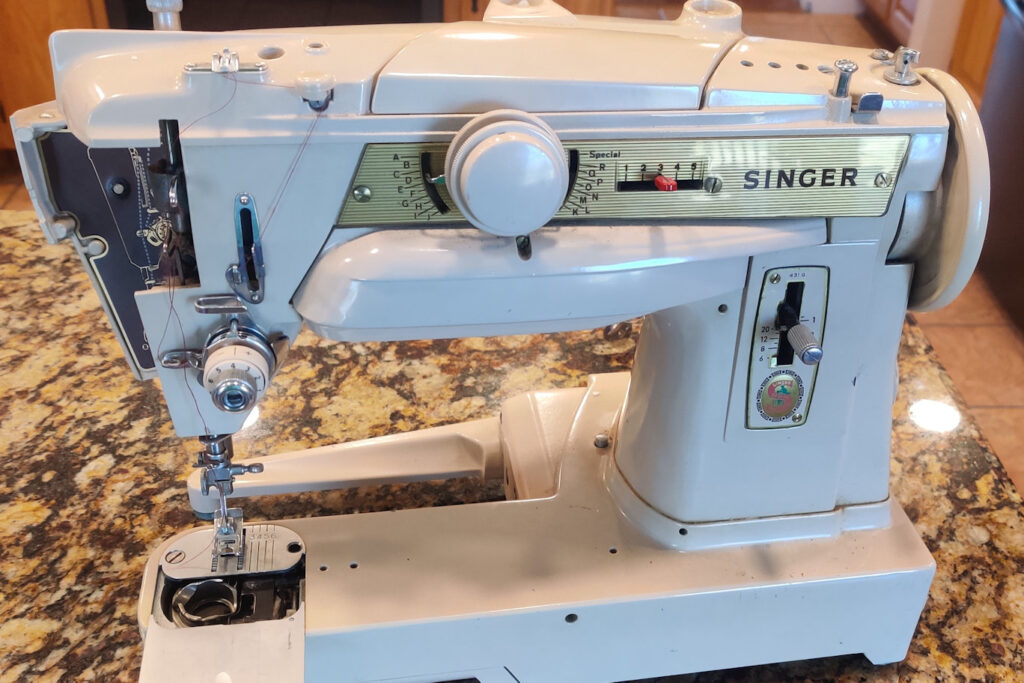
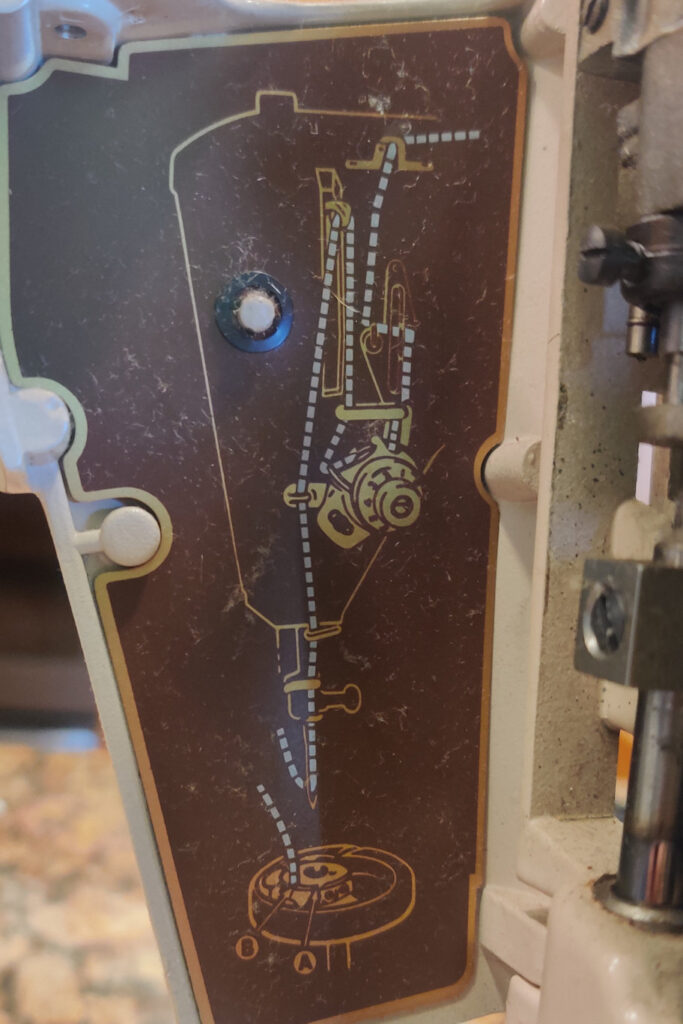
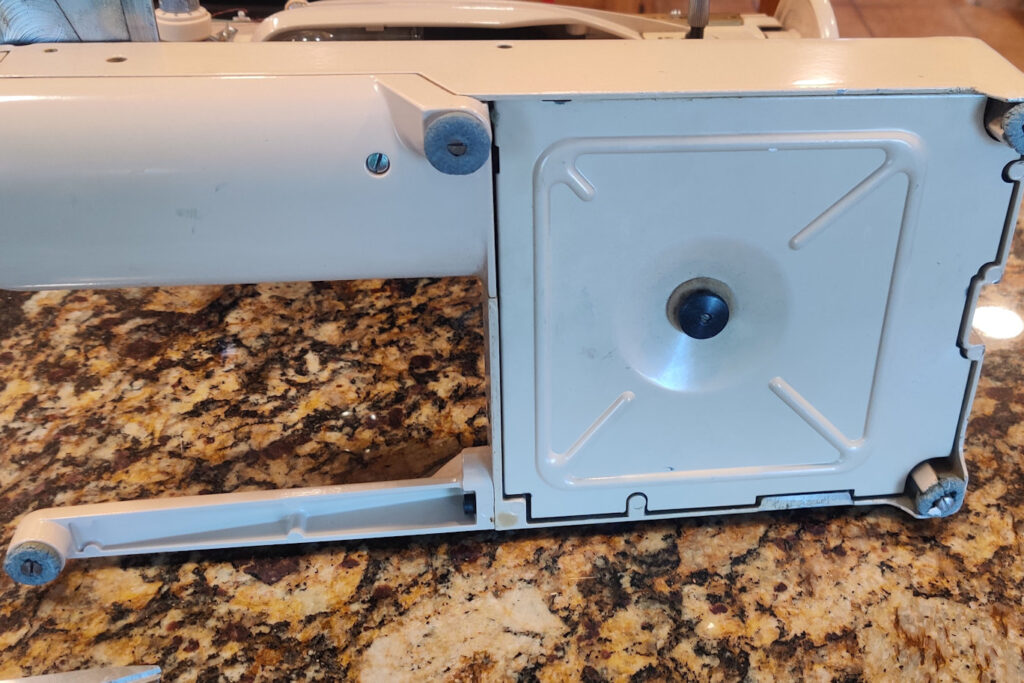
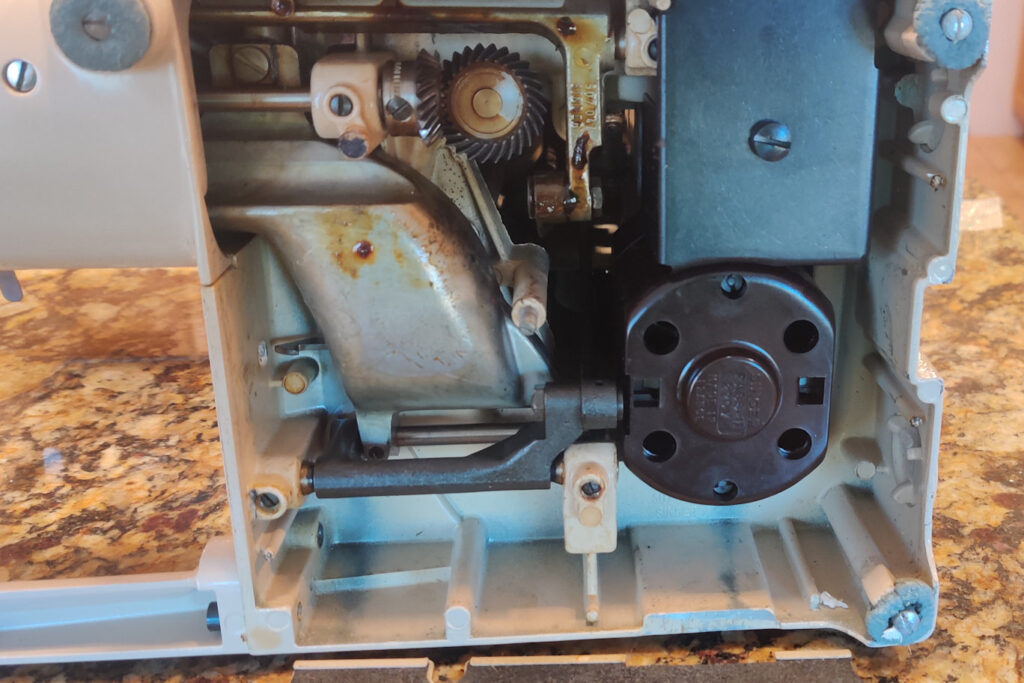
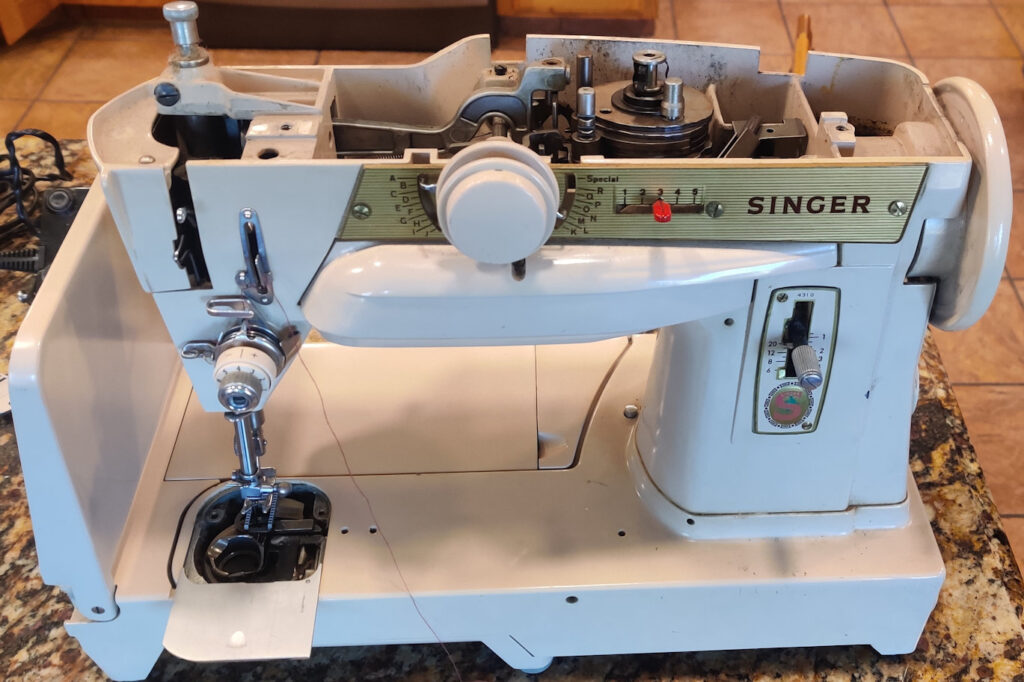
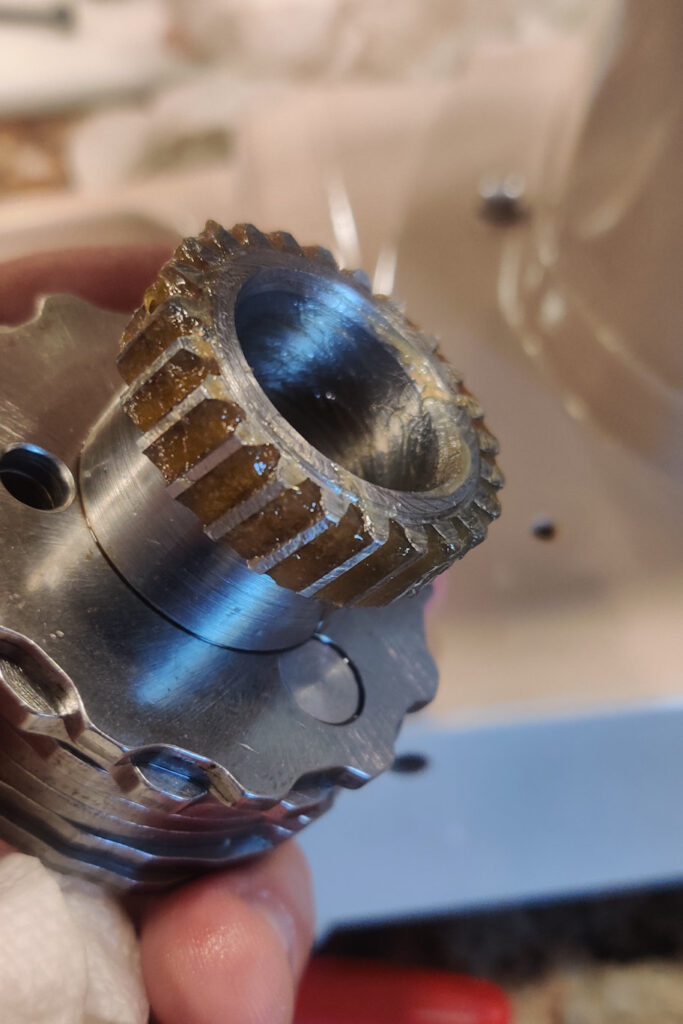
My Singer 431G

I was looking for a very rare Singer 431G but the only ones I found were on Etsy and they were priced between $600 and $900 U.S.

I took a chance and went to the German version of eBay (eBay.de).

I found German language listings that did not appear on eBay.com.

I found the following listing and paid around $60 USD and about $150.00 USD for shipping. So my total cost was a little over $200 USD.
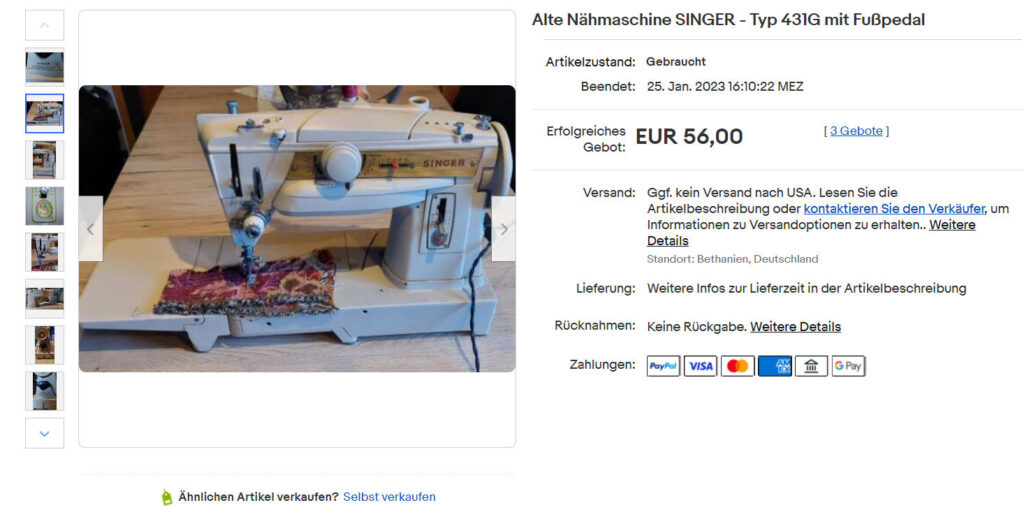
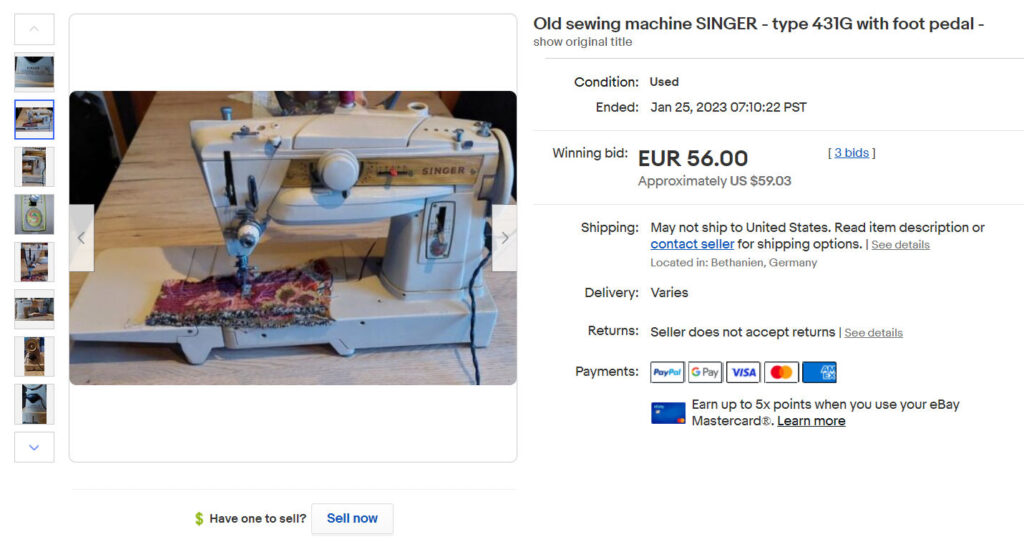
German eBay.de listing
English Translation Ad eBay.com

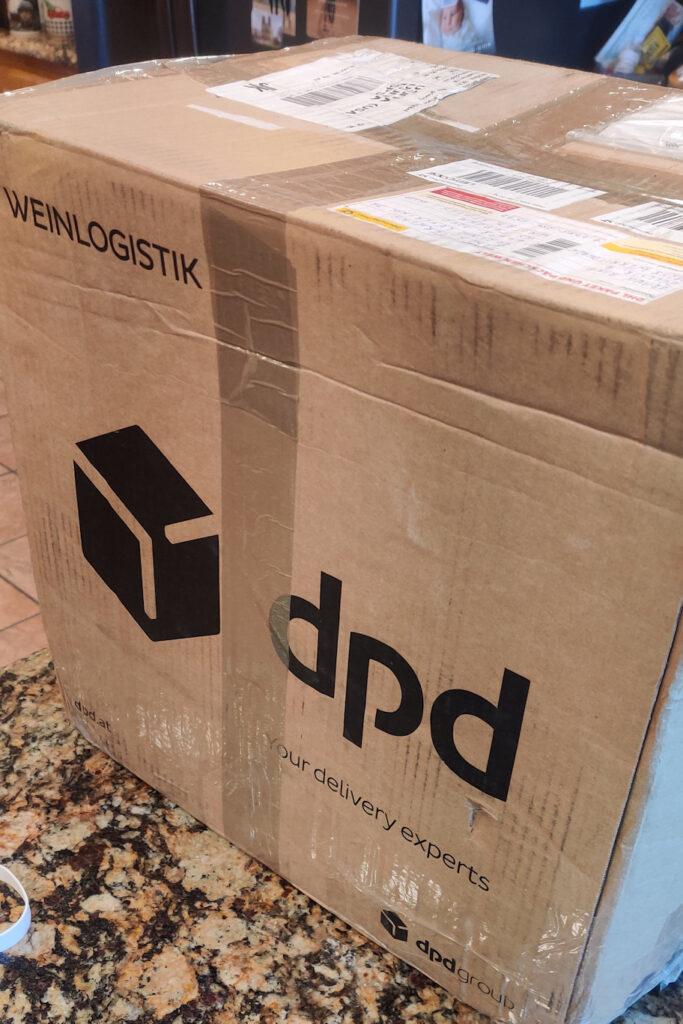
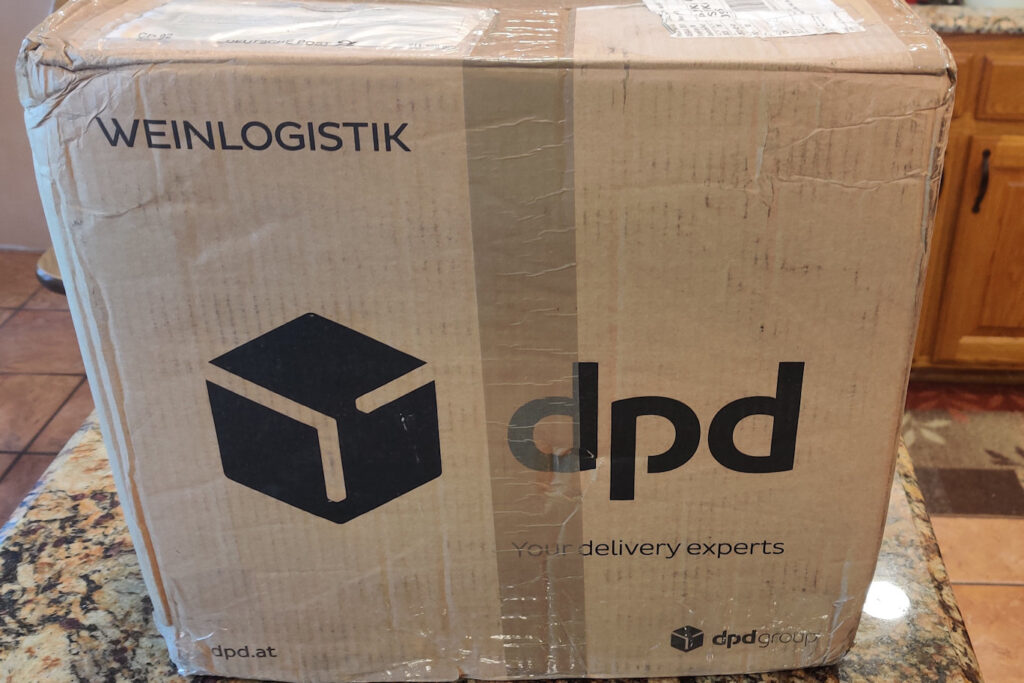
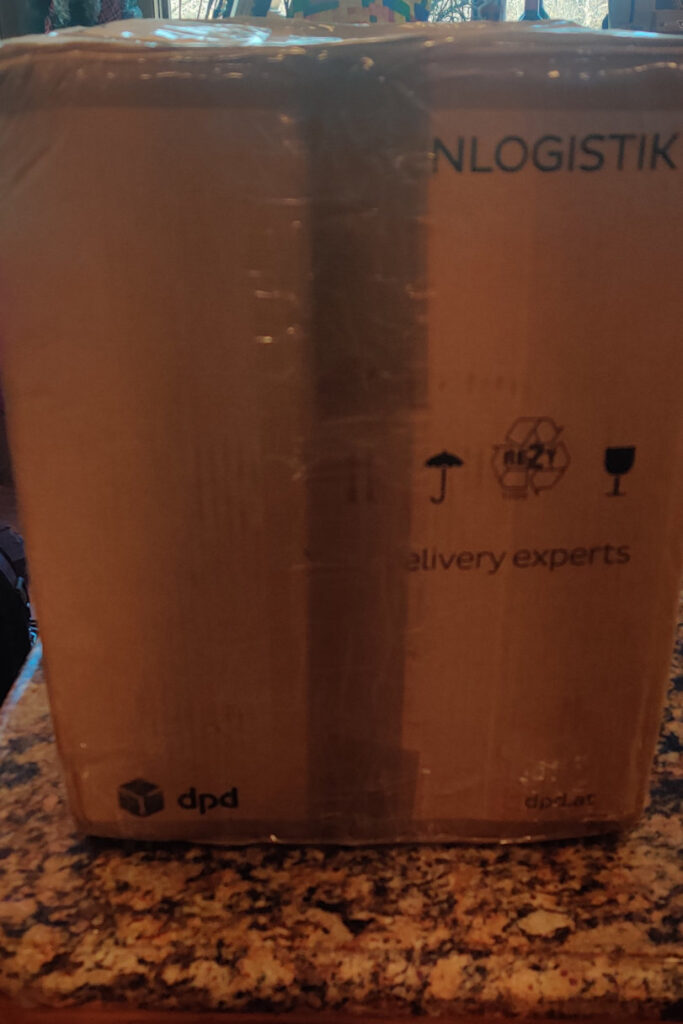
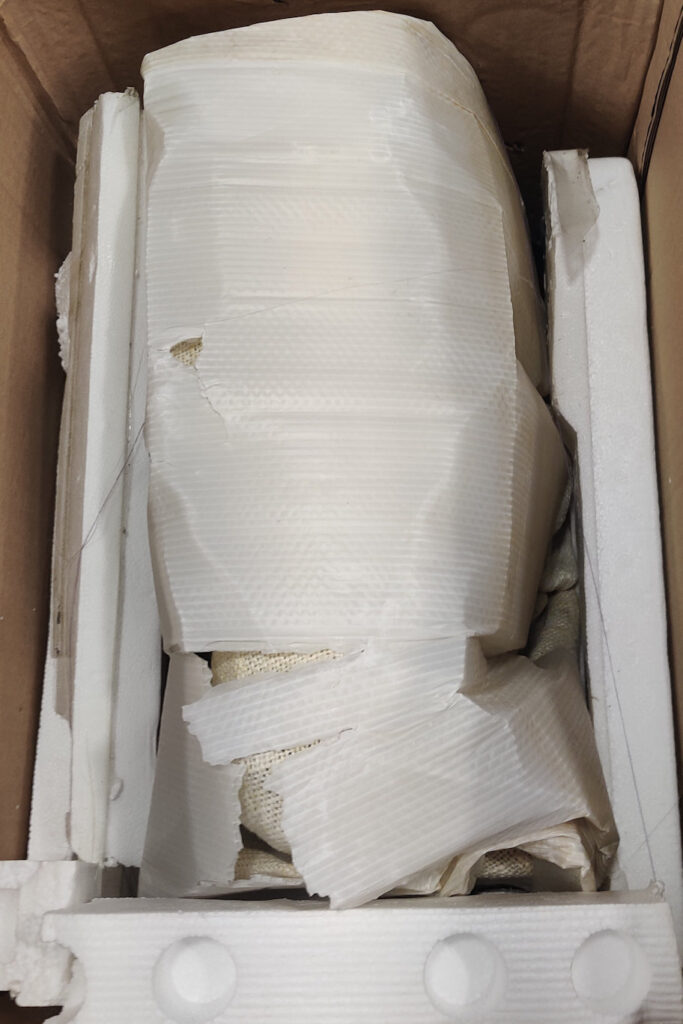
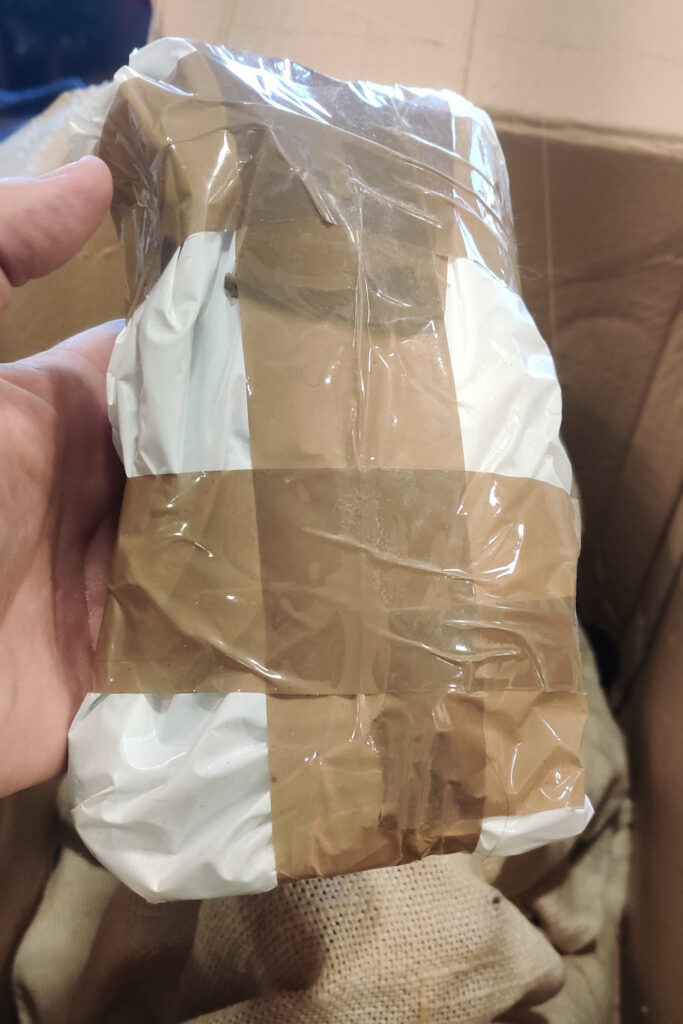
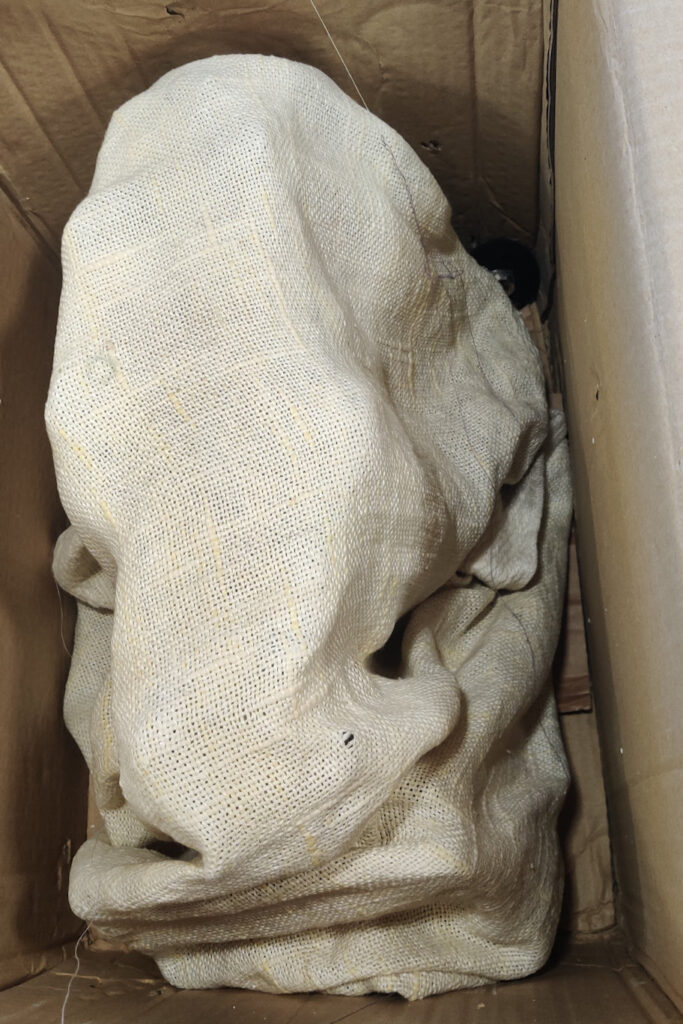
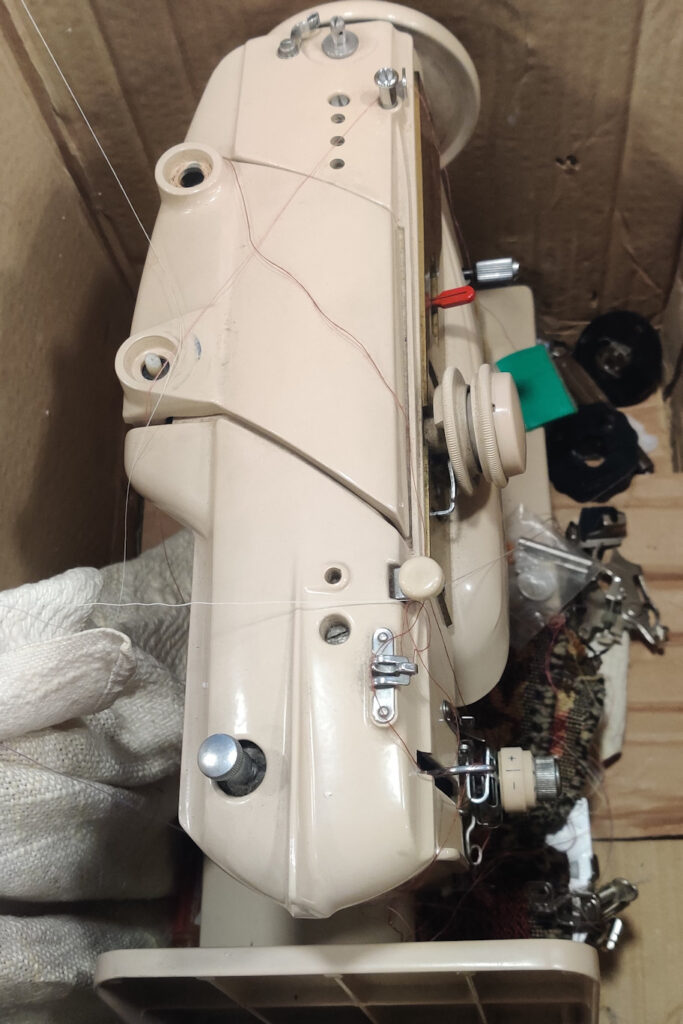
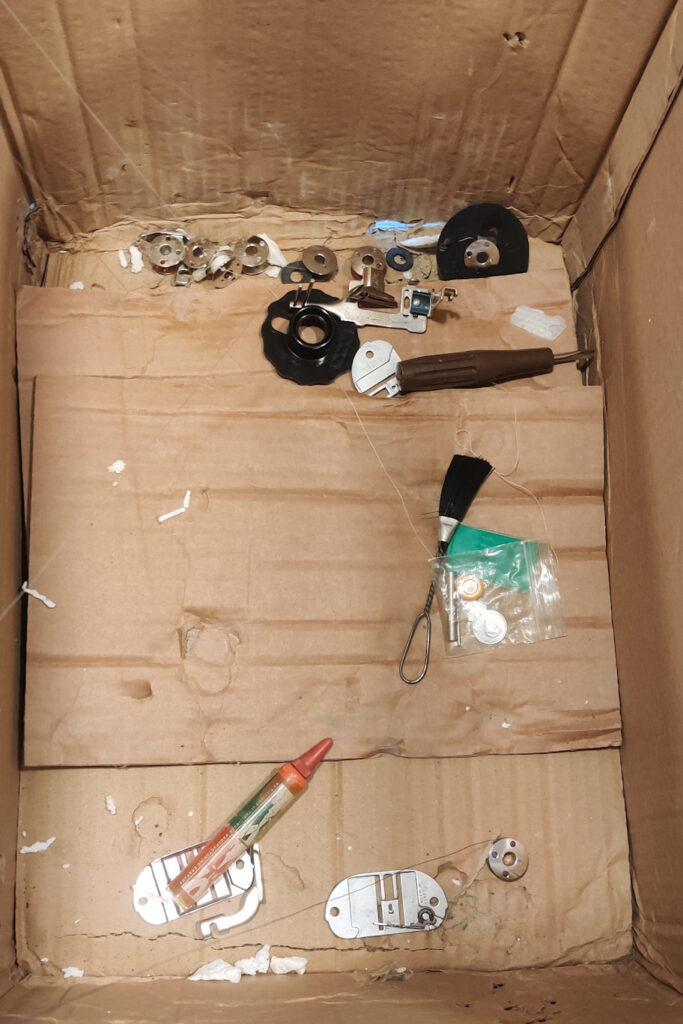
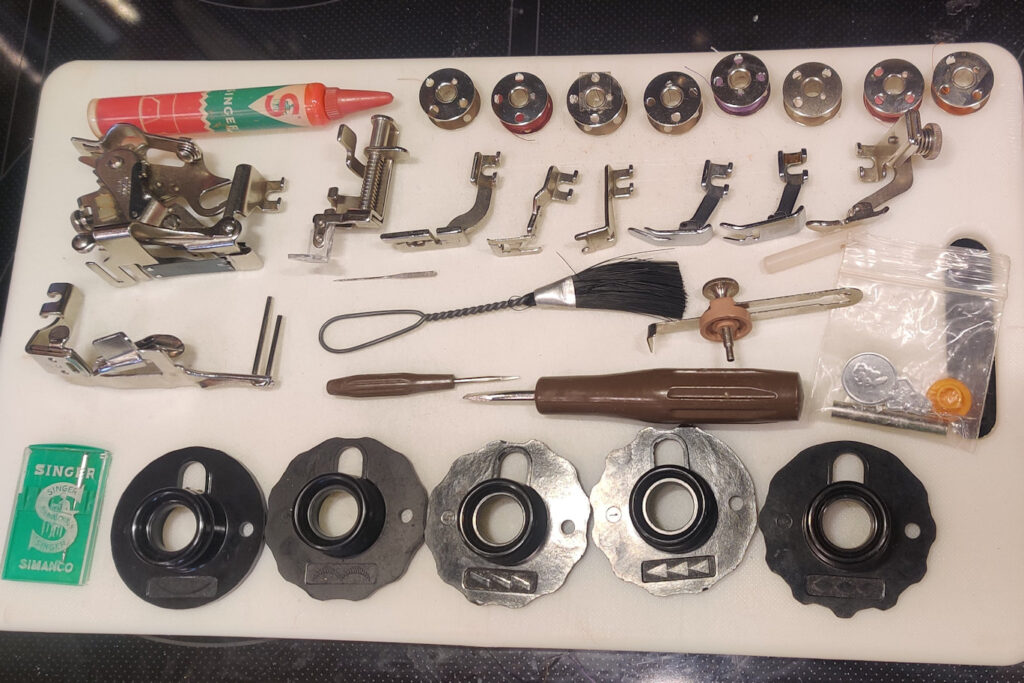
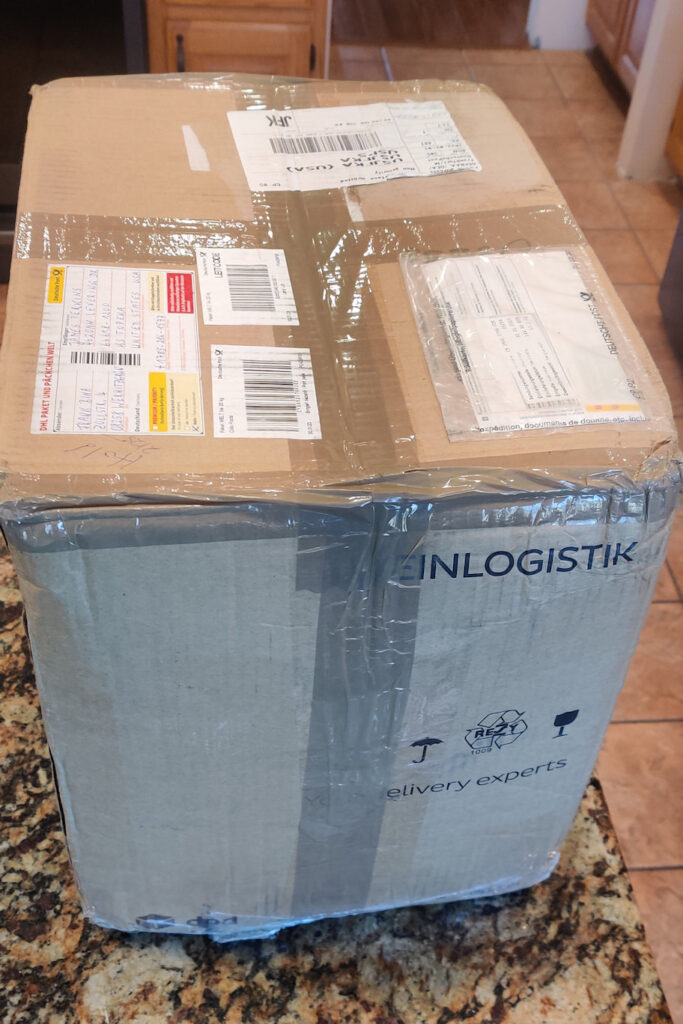
The package arrived a couple of weeks later. Here are some pictures of the unboxing.
General Condition:

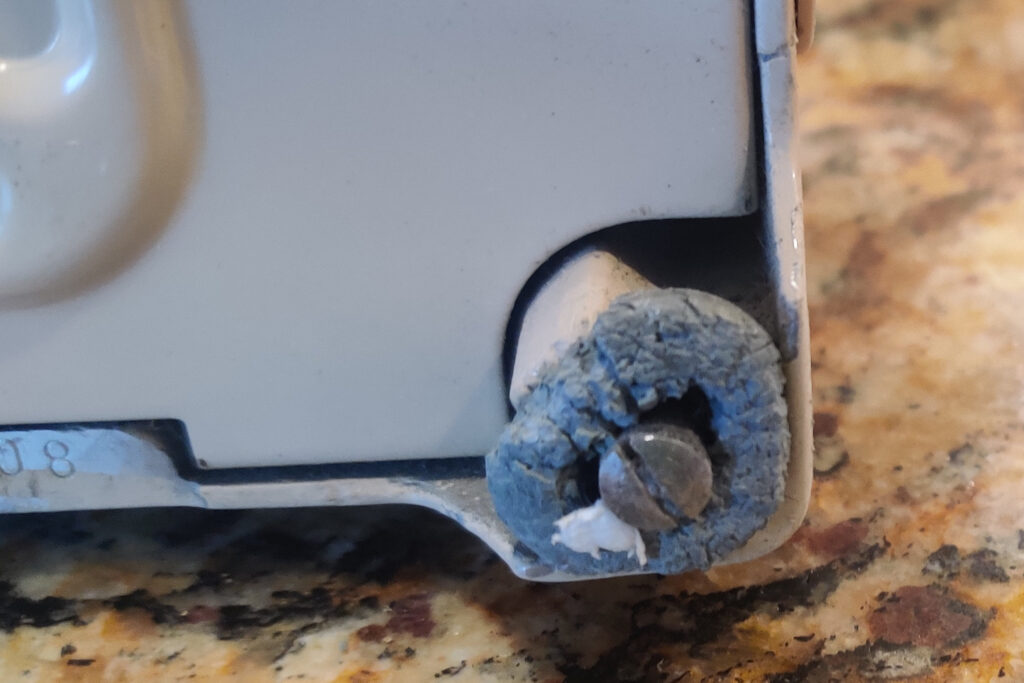
I knew the bed cushions (rubber feet) were bad from the original eBay listings so I had already ordered 4 new cushions. I did not realize the 431G actually requires 5 of these because there is an additional cushion on the bed extension.

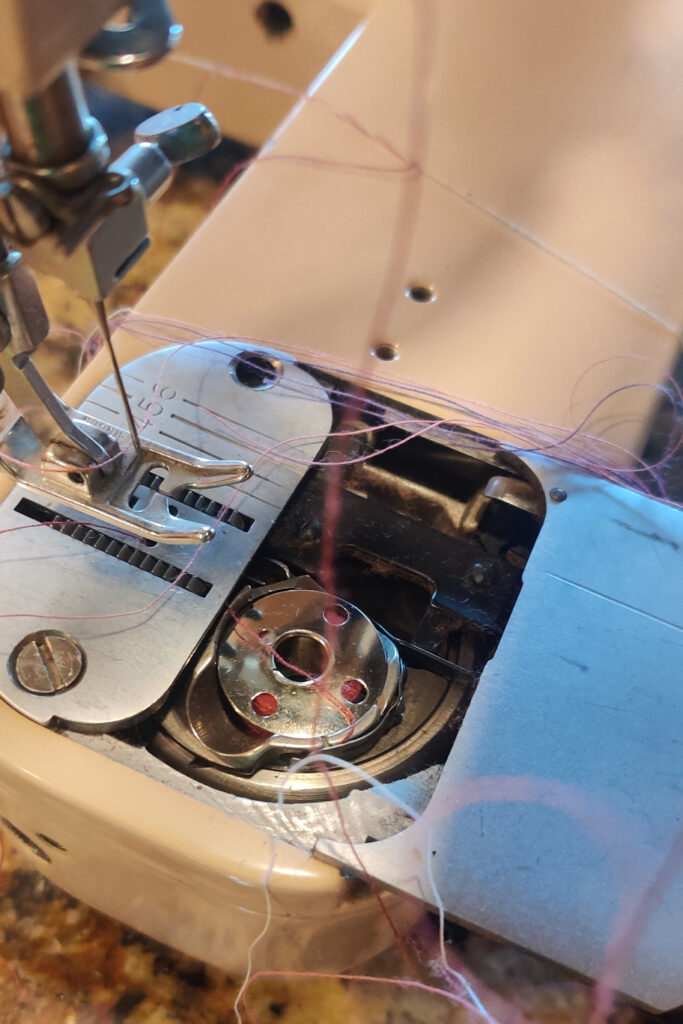
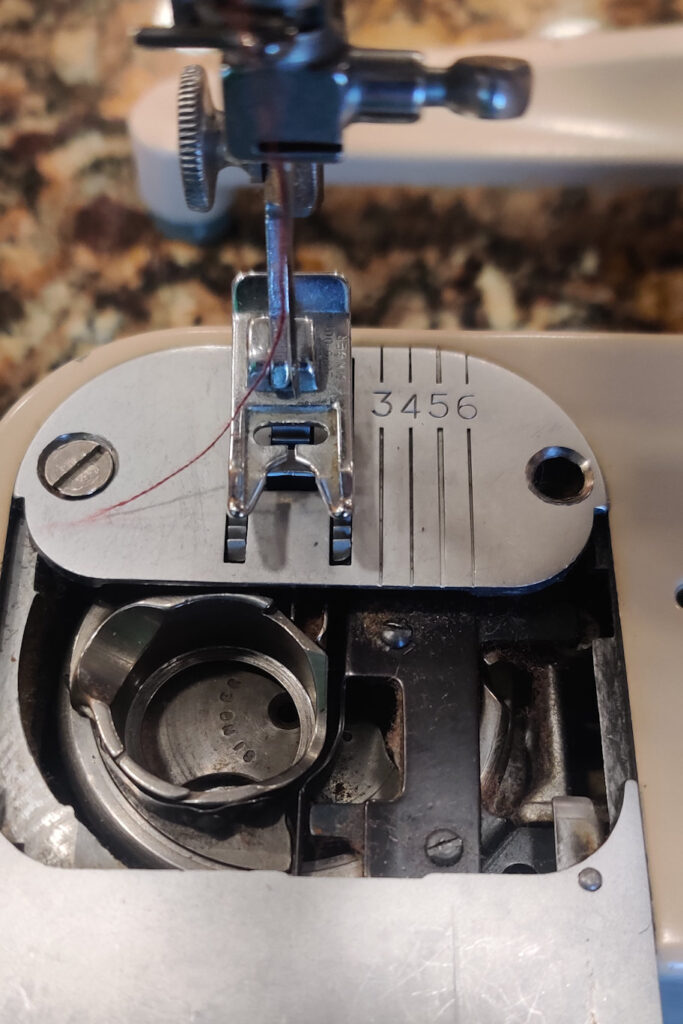
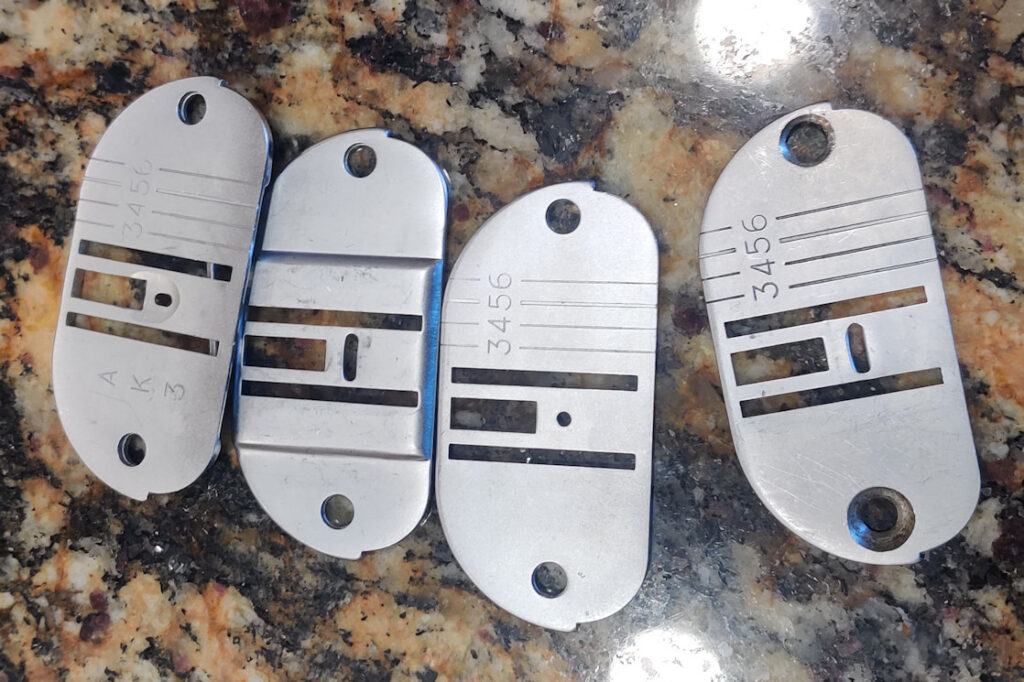
The needle plate pins were missing and someone had drilled the zigzag needle plate to accommodate a flat-head machine screw. One of the needle plate pin holes was threaded but the minor thread dimensions were still the same size as the needle pin. The right pin hole seemed very shallow and I found there was part of a broken pin stuck inside this hole.

I thought there was something wrong with the light switch but these work differently than the switches on the same era of U.S. made Singers. The switch does not continue to turn in the clockwise direction to turn the light on and off. It turns one direction for on and the other direction for off.

Both of the plastic spool pins were missing or broken. I tried to order some Singer #507077 Spool Pins but they were back-ordered.

There is a great article at the following website about replacing and modifying the spool pins. I took a slightly different approach that I describe, below.

The same site has a great article on the needle plate pins.

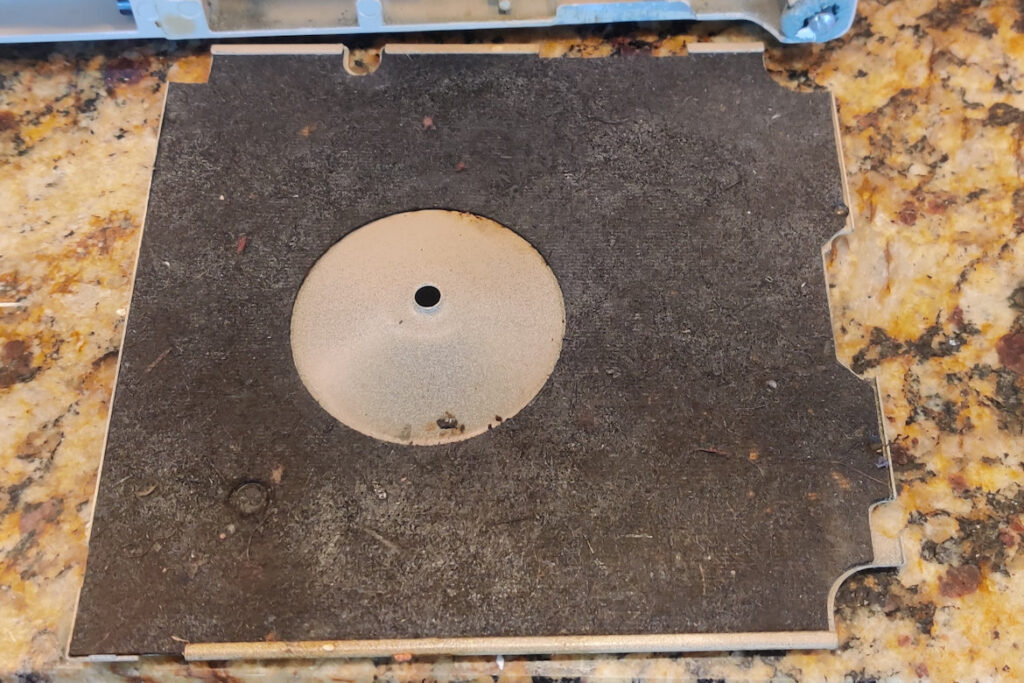
When I removed the pattern plate from the lid to expose the spool pins, the clip broke and could not be re-used.

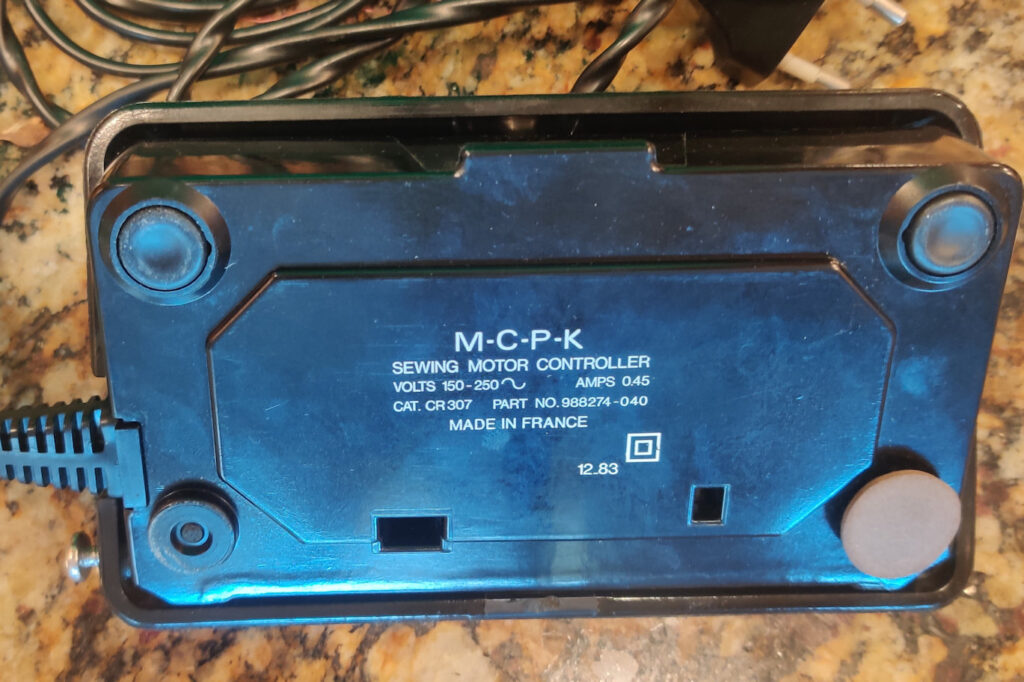
The foot pedal had been repaired and did not test well with an ohm meter. I had planned to replace all or part of the electronics because I wanted to use this 220V machine in the U.S. without a step-up transformer.

Cleaning the machine:

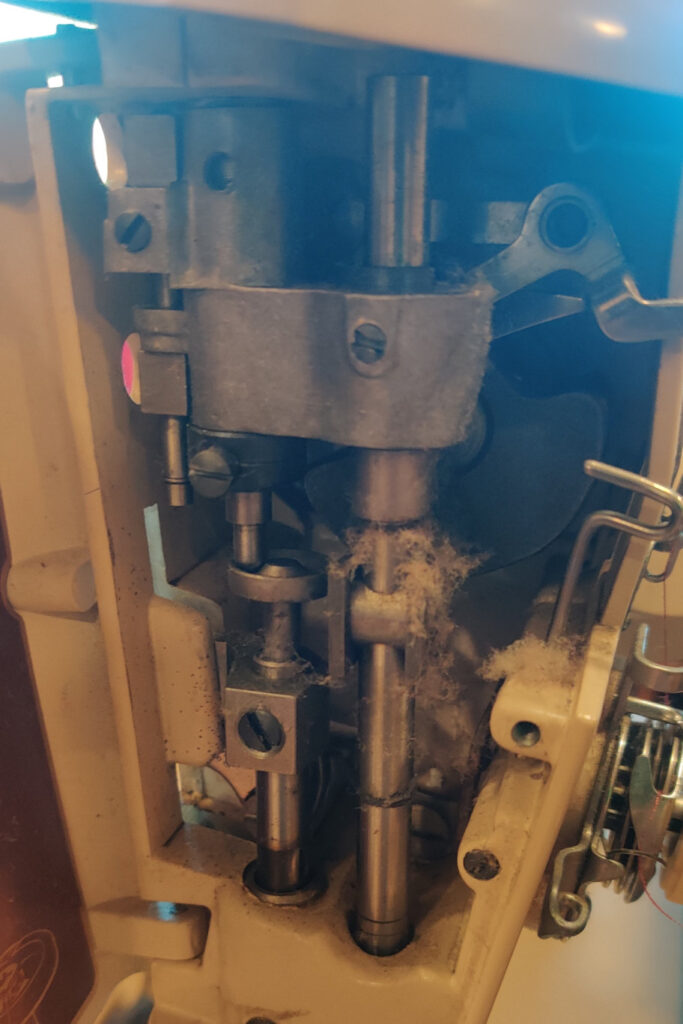
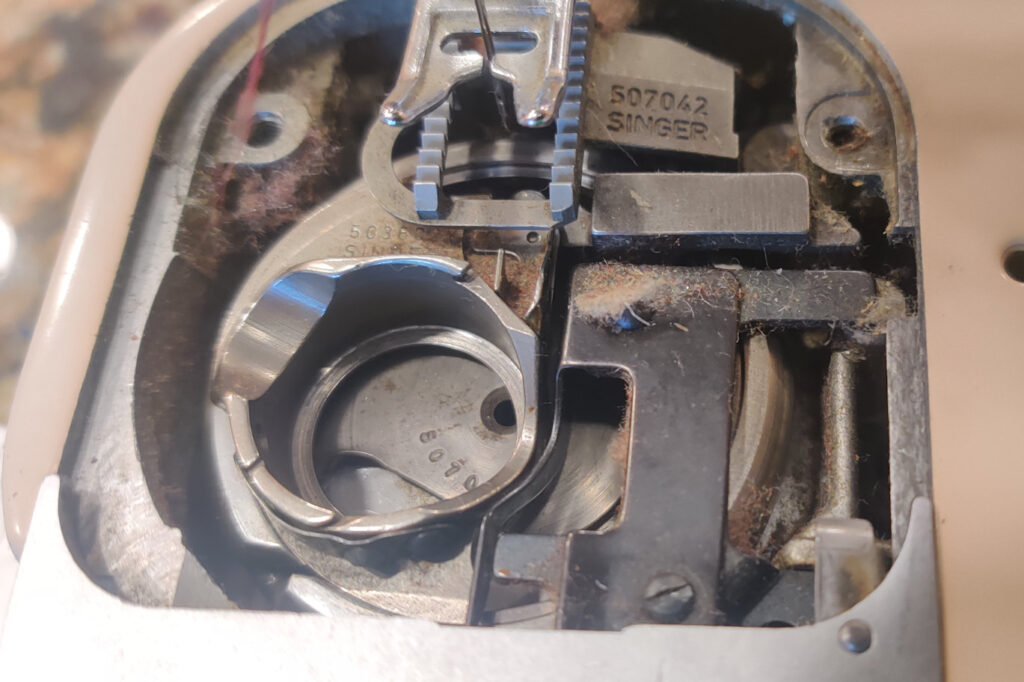
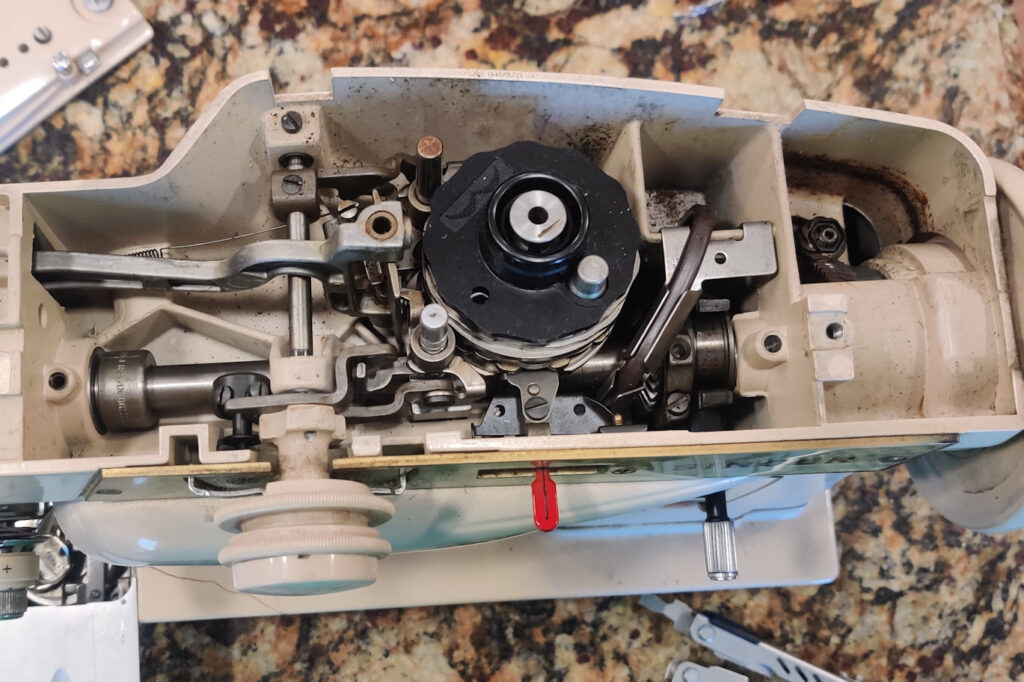
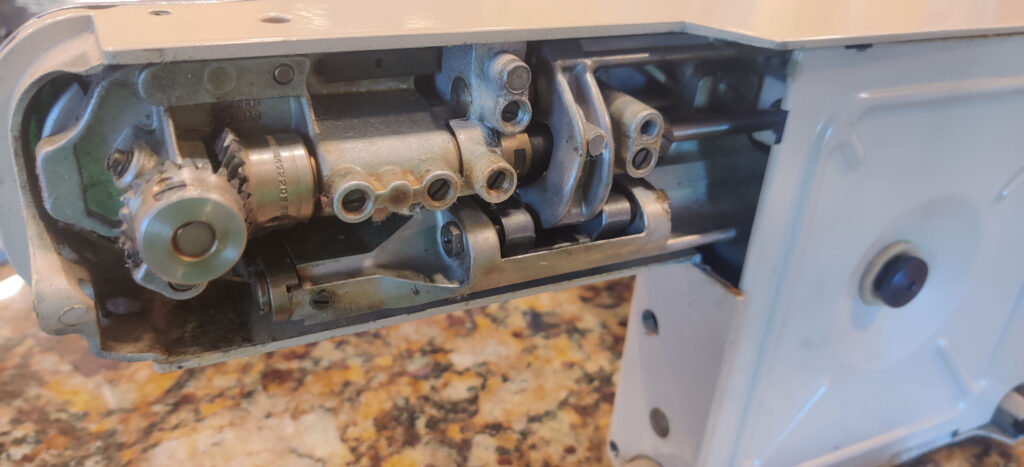
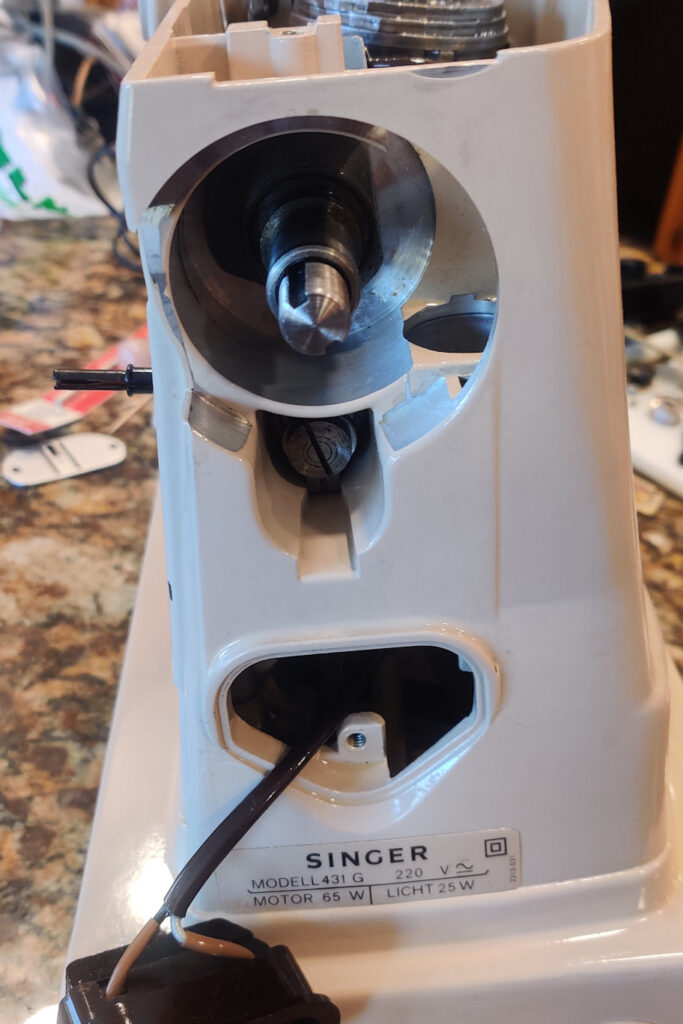
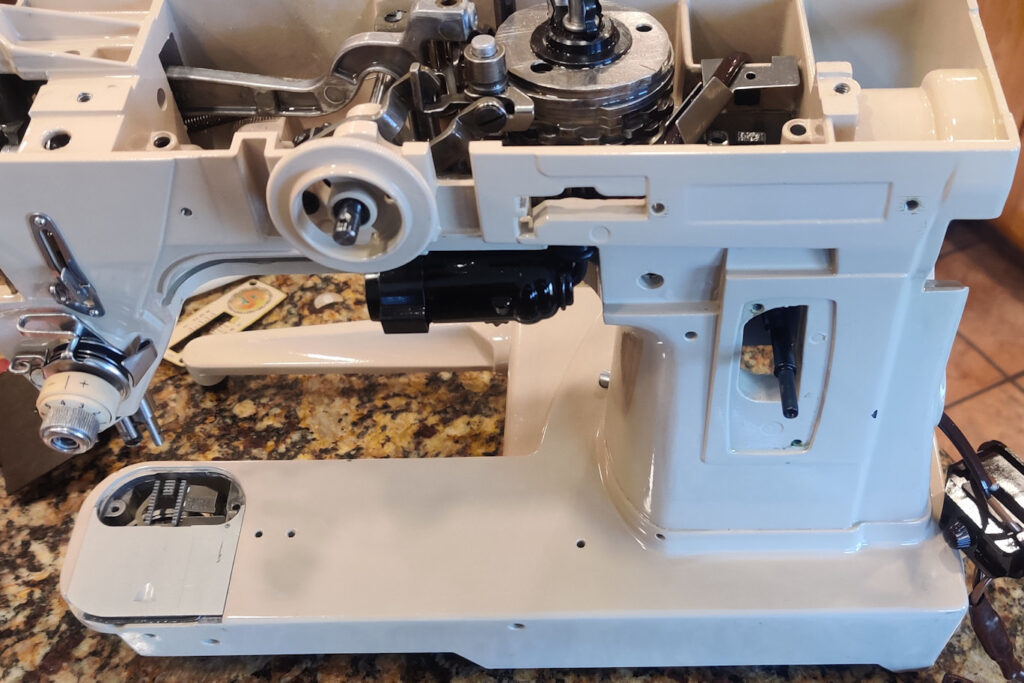
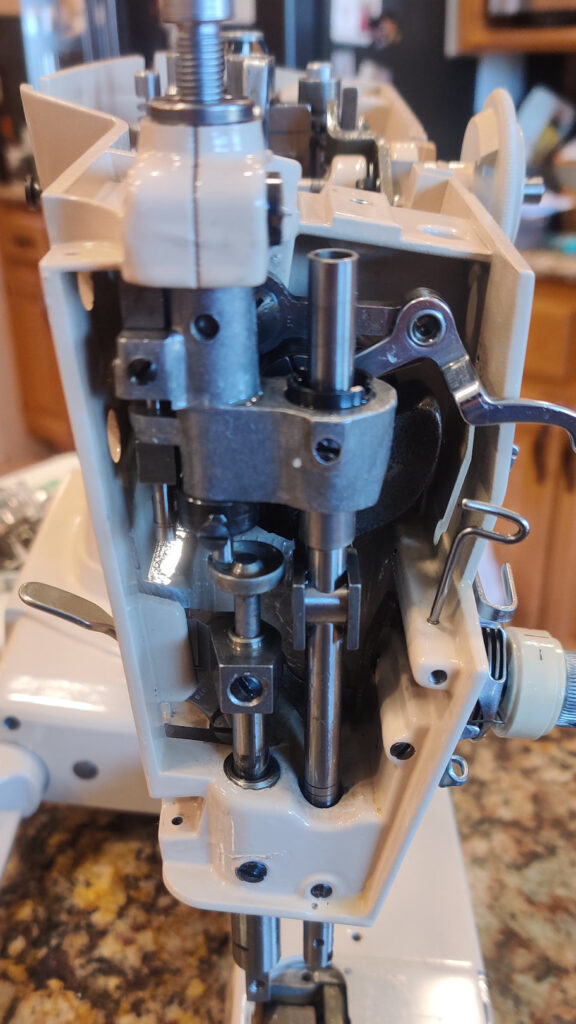
I removed most of the parts from the machine so I could give it a thorough cleaning. I purchased some Tri-flow to clean and lubricate the machine. It did not do a good job of cleaning out the old grease, so I switched to a heavy duty de-greaser. WD-40 spray can also help with de-greasing and it is metal-friendly.
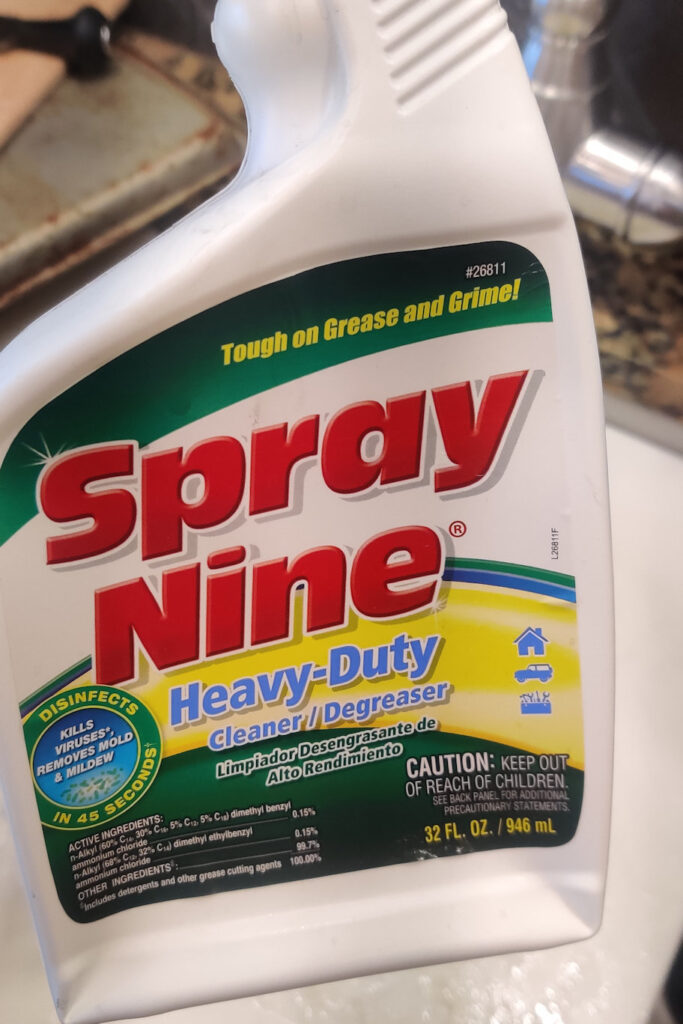
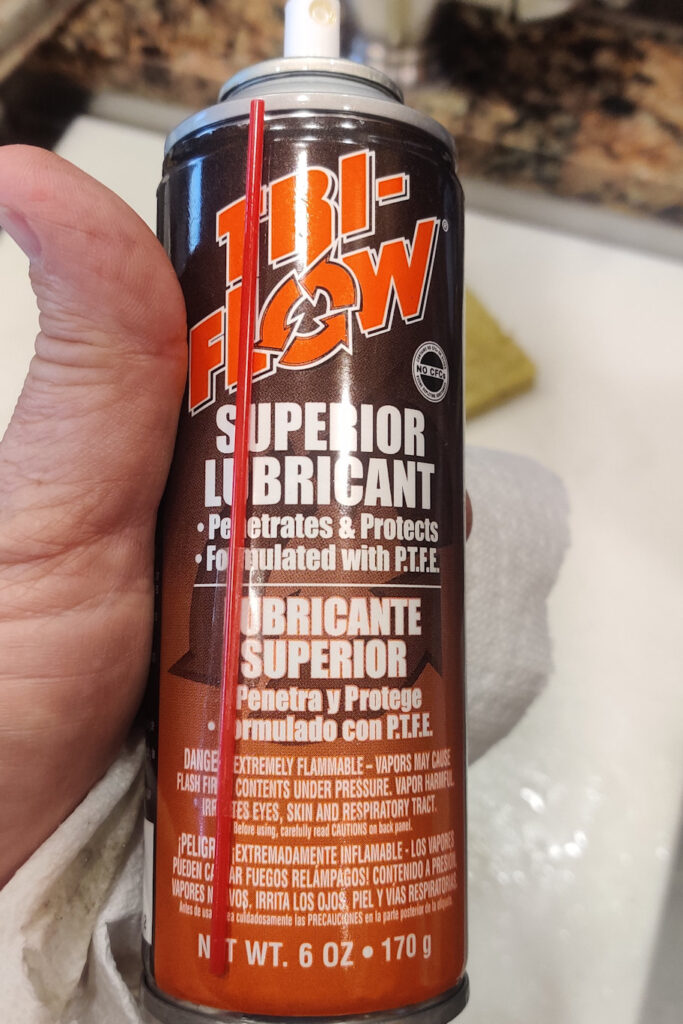
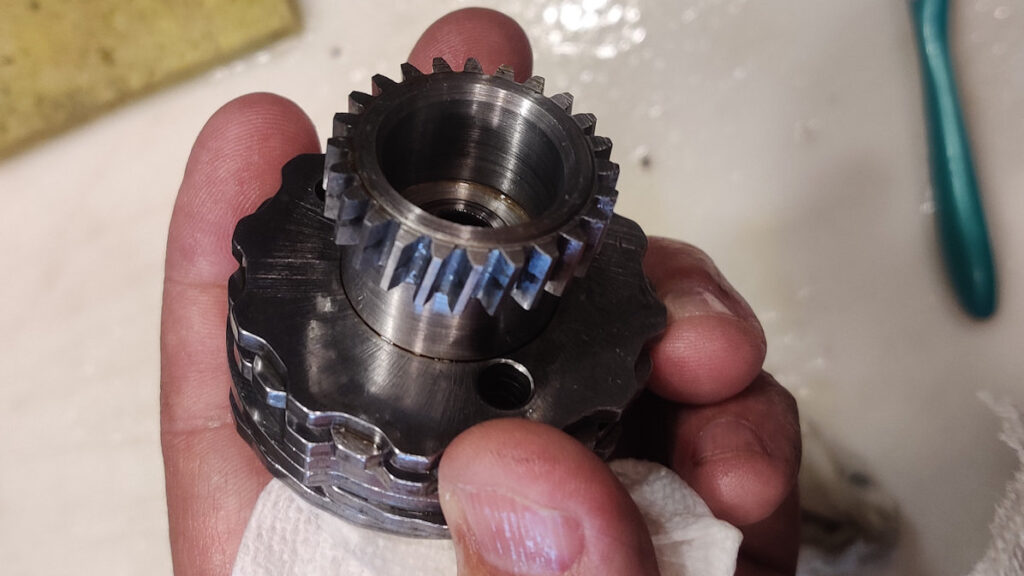
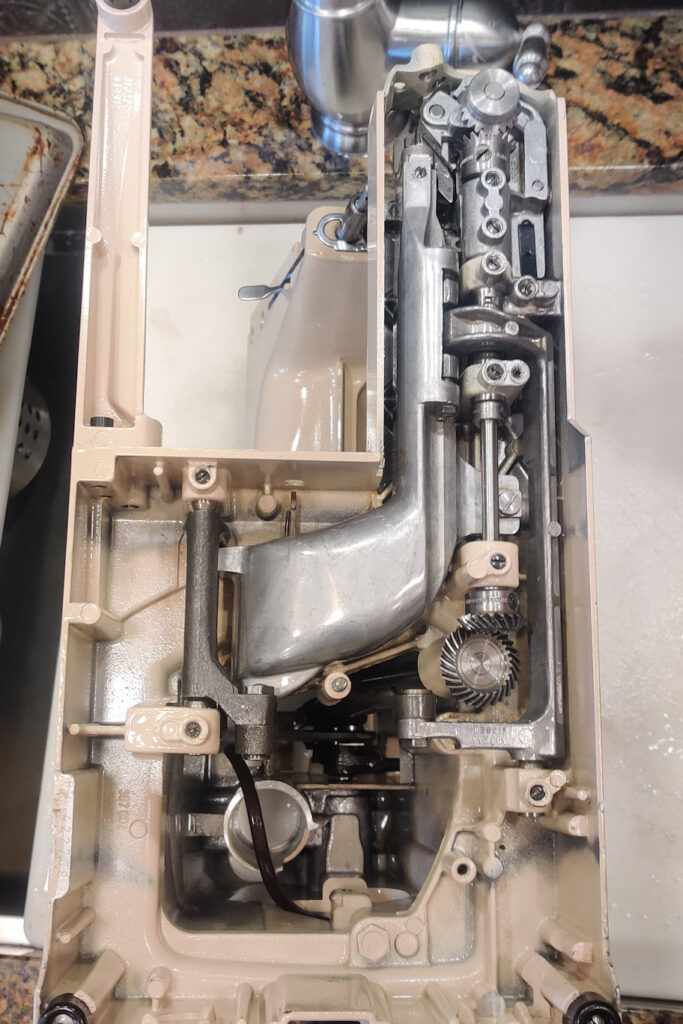
I sprayed the machine down with the de-greaser and used a toothbrush and toothpicks to remove the old oil and grease. I finished by washing the machine out with water.

There are a few parts inside these machines that are not plated and they will rapidly rust once all the oil is removed.

I dried out most of the water with compressed air and followed up with a liberal coating of Tri-flow.

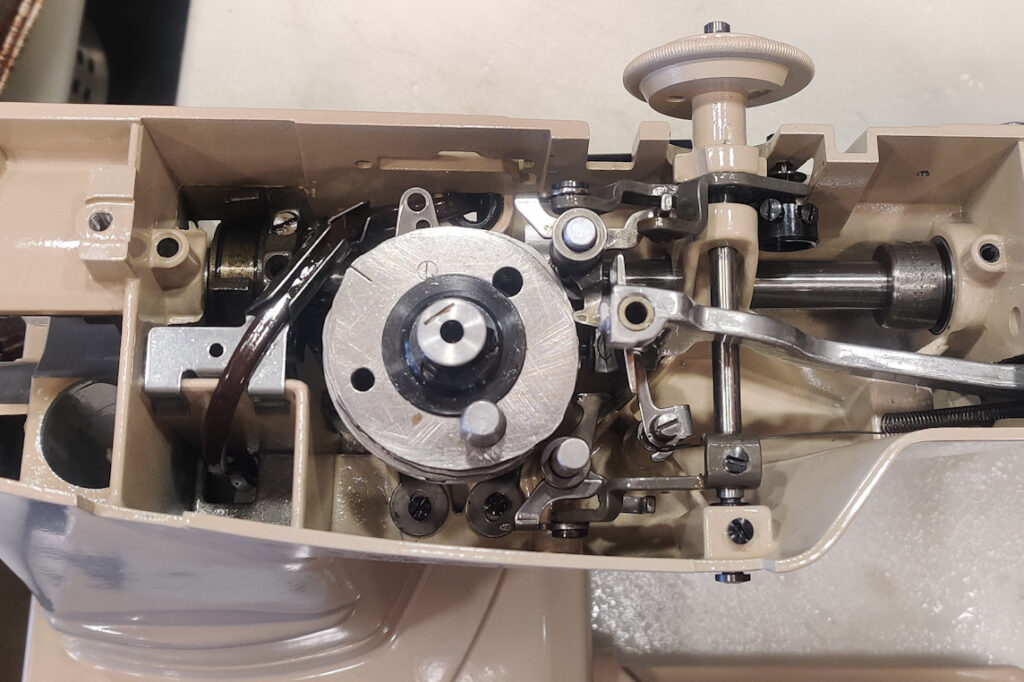
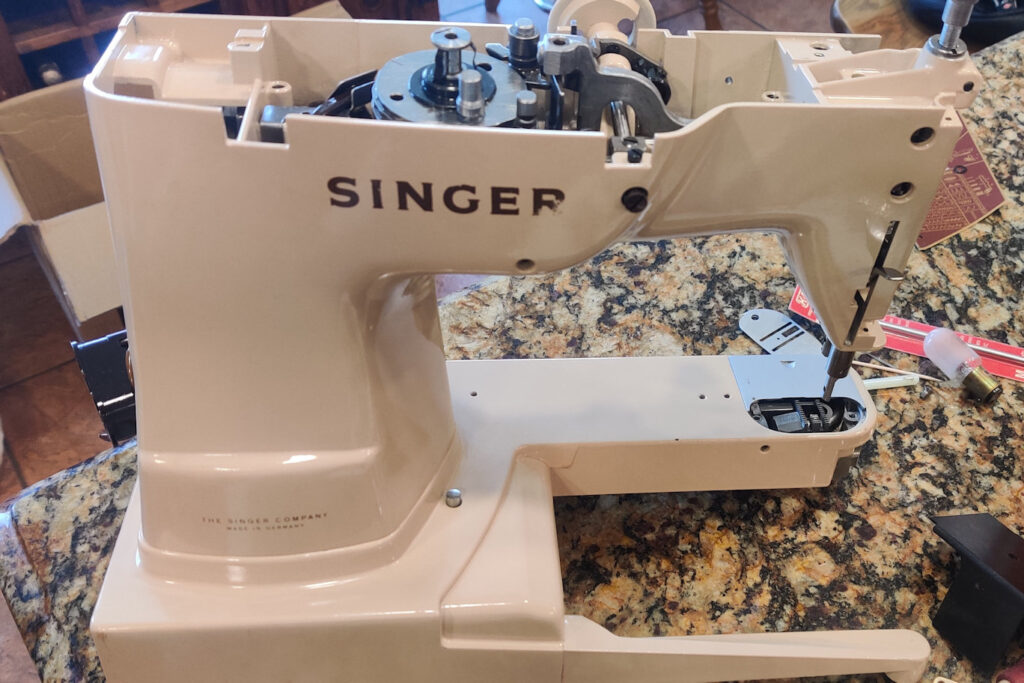
When I finished, the machine looked shiny and new.
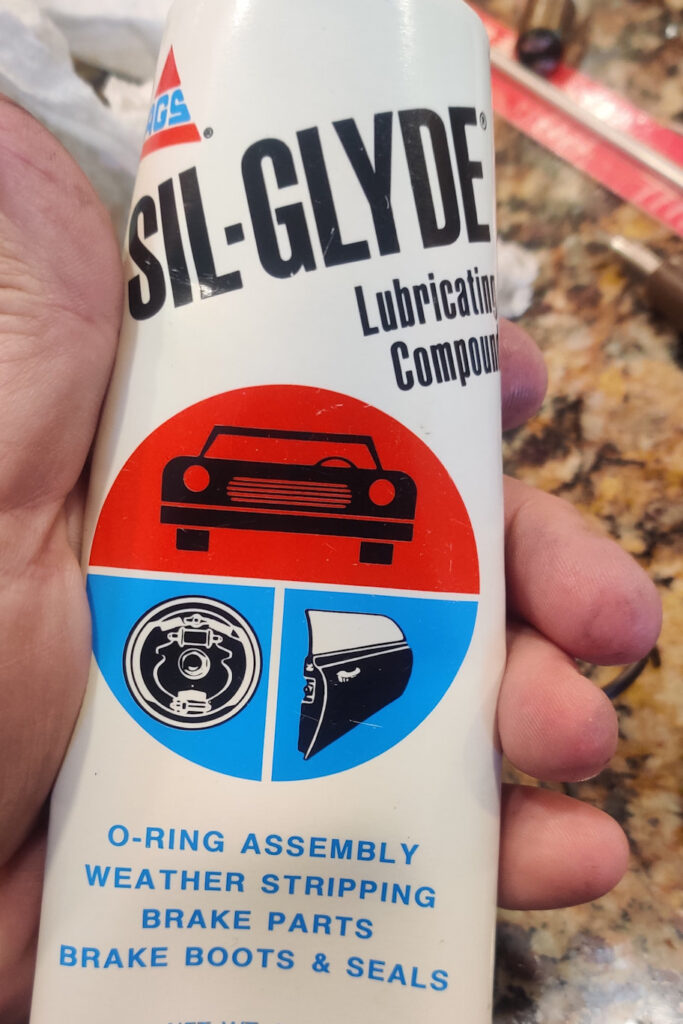
I applied sticky silicone grease to all the gear teeth.
The stop motion wheel on the 431G is made of plastic and will crack over time. Mine has 3 cracks visible from the inside and one visible from the outside.

I tested a stop motion wheel and washer clutch from a Singer 401a and they fit and worked perfectly. If the wheel ever breaks, I can replace it with the metal parts from a Singer 401a.

Motor replacement:

I purchased a Singer 626 on Facebook Marketplace for $40. All the gears were melted but the motor, wiring, and foot pedal were in good shape. The motor fit perfectly and the gear pitch was the same so I did not swap the motor gears.

I used the original wiring from the 431G and replaced the foot pedal. I think the original foot pedal would have worked but it was in disrepair.

I used a plug adapter from my travel kit to plug the 220V plug into the 110V outlet. This was a temporary solution until I could order the proper connectors.

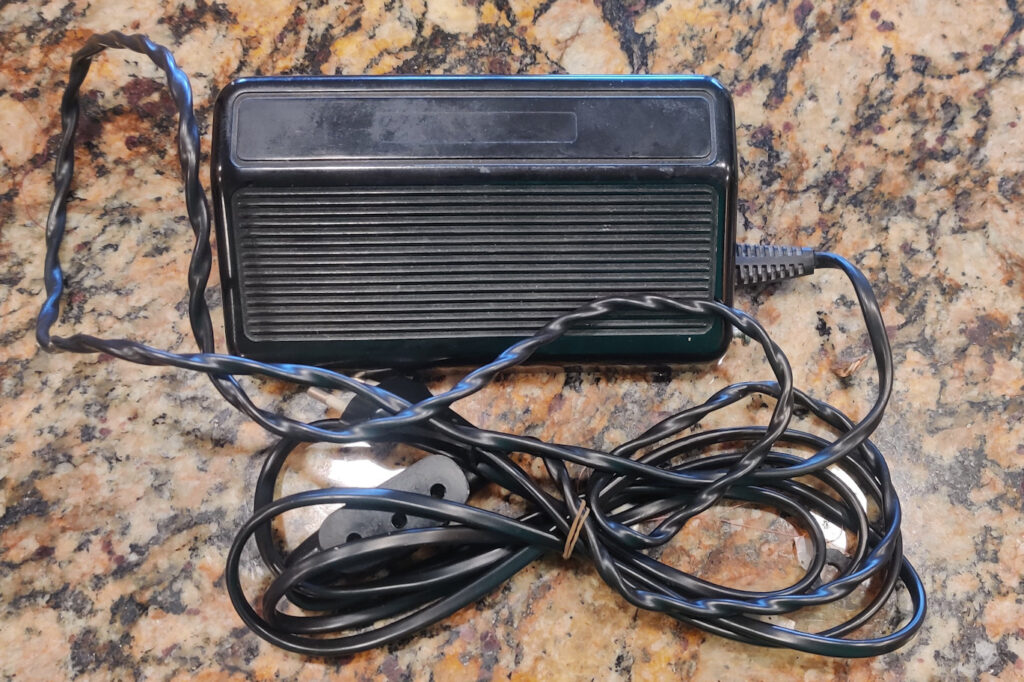
I eventually replaced the cord and pedal set with the one in the following picture. It worked well.

The following video shows the machine running on 110V for the first time:

Spool Pin upgrade:

I upgraded the sockets on the machine with double chainring bolts like the attached videos describe.

I stopped by the local bicycle repair shop and purchased a couple of the bolts for $5. I wound up with a slightly mismatched pair and one of the spool pins fit a little loose. In the future, I will probably purchase new ones online.

You may have to try a few spool pins to get the correct fit. I just made my own out of HDPE cutting board material on my hobby lathe.

You may have to cut or sand some of the finish off of the spool pin holes to get the chainring bolts to slide in.

You will need a small spacer to hold the top of the chainring bolts flush with the top of the machine. I bought a nylon bushing at the hardware store and cut slices to fit.

Chainring Bolt Bushing

Attaching the Stitch Plate Cover to the Lid

My original push nut broke when I removed the stitch plate cover from the lid. I ordered 100 4mm push nuts from McMaster Carr for about $15. These fit the cover and I now have 99 to spare.

I found the easiest way to install these is with a 1/4-inch nut driver. It fits over the outside of the push nut and makes it easy to push it down evenly.

Replacement Push Nut Installed

Needle Plate Pins – Permanent Fix

A Common Problem

The needle plate pins for these machines were made from spring steel and were commonly broken. Only a few of the German 400 series machines used these pins and replacements are not available.

When the pins break, owners use double stick tape and other temporary solutions to keep the needle plates down.

The following picture shows a with only 3 of the 4 sides of each pin intact.

431G with broken needle plate pins.

Removing Broken Pins

The short (right) needle plate pin was broken off just below the holding screw and I was unable to get it to fall out when I turned the machine upside down.

I set the machine up on its side and removed the bottom cover of the free arm.

I was able to see the bottom of the hole when I adjusted the stitch length to maximum.

I used a small drill to push the broken portion of the pin from the hole.

Pin Lengths – Be Careful

When you put a needle plate pin in the hole on the right (closest to the stop motion wheel), you need to be careful not to place it too deeply or it will interfere with the feed dog bar. Replacement pins need to be two different lengths and the short pin needs to go in the hole on the stop motion wheel side.

Magnetic Pin Set – Game Changer

One recommendation showed using the pins from a later model 700 series machine. The pins from these machines are the same diameter as the holes in the needle plate. These machines also had magnets embedded in the case to help hold the needle plate down.

I decided to upgrade the 431G to include magnets.

I found some 1/16-inch thick by about 3/16-inch thick neodymium magnets left over from a previous project.

I drilled offset 1/8-inch holes in the magnets with a carbide glass drill bit.

I machined stainless steel pins to fit the plates because it was cheaper and easier than finding a donor machine or donor parts. The stainless pins are corrosion resistant, durable and non-magnetic so they will not stick to dressmaker pins.

The pin dimensions shown in the drawings below allow room for a 1/16-inch magnet below the head. If you omit the magnets, you need to make the head 0.1625-inch (4.12 mm) thick but keep the overall length the same. I also added dimensions to show roughly how much material you need to take off if machining from a 3/16-inch diameter rod:

Plate Pins SAE
Plate Pins Metric

The pins hold the magnets in place.

The solution is simple and it holds extremely well. I typically have to use something to help pry the plates off when I change them. It even holds my over-drilled zigzag plate.

If there is any demand, I may put a few sets of pins and magnets on eBay.

LED Light Upgrade

The LED bayonet style lights at Joann will not fit the 400 series machines. To make them fit, you need to ream out the socket.

You only need to bevel the edge slightly.

I used a grinder tip on a drill for about three seconds to bevel the edge.

Replacement Needle Plate:

As stated, above, my 431G came with a messed up zigzag needle plate.

Replacement needle plates for Singer 431G machines are extremely hard to find.

I successfully modified a needle plate from a Singer 700 series machine to fit my 431G.

I ordered a Singer 174198 needle plate from eBay. The ad said it fit models: 750, 756, 758, School 417, 611, 719, 775, and 776.

The plate is very similar to the 431G plate. The holes are in different locations and there is additional material on the back side of the plate. The feed dog slots are also just slightly smaller than the 431G plate.

Here is a picture of the plates stacked together.

Stacked Plates

Here is the new plate with changes marked in black.

Marked Plate

I drilled the new plate and sanded the extra material from the rear edge. I used a small diamond grinding bit to expand the feed dog slots and to make a few final adjustments.

The following pictures show the modified plate which fit into the 431G with the new magnetic mount. This is a hand-made prototype so it has a few imperfections but it worked very well. I intend to use this instead of the zigzag plate that came with my machine.

Next Steps:

  • I am in the process of purchasing a Singer 404 with carry case to see if the case fits the 431G.
  • I will try to set up my hobby CNC router to re-drill and re-shape the 700 series needle plates to fit the 431G.
Print Friendly, PDF & Email
Published
Categorized as Guides

1 comment

  1. I also recently bought a 431 from ebay and had it shipped from the UK to California (https://www.ebay.com/itm/374487942707). Mine was a bit more expensive, but very reasonable considering the very fine condition of the machine, just a couple of fine cracks in the hand wheel and a missing spool pin. My only surprise was the tax imposed by CA. I oiled & greased with Triflow. I replaced the bulb with an LED. It doesn’t fit right, but I didn’t do any modifications and it works anyway. I bought a voltage converter from Amazon and it does the job well leaving my machine as is electrically (220v) (https://www.amazon.com/gp/aw/d/B07PS3NKWS?psc=1&ref=ppx_pop_mob_b_asin_image). I bought a couple replacement spool pins to keep the colors matched along with nylon washers, rubber grommets & a snap rings from the hardware store… works OK. I also bought the chain rings if I later decide to go that way. I haven’t checked to see if they fit through the rubber grommet holes. All in all, I’m very happy with the machine and have already given it a run making a pair of PJs

Leave a comment

Your email address will not be published. Required fields are marked *