NOTE: Additional Mods and Information that would apply to all 431G machines has been moved to midcenturysinger.com.
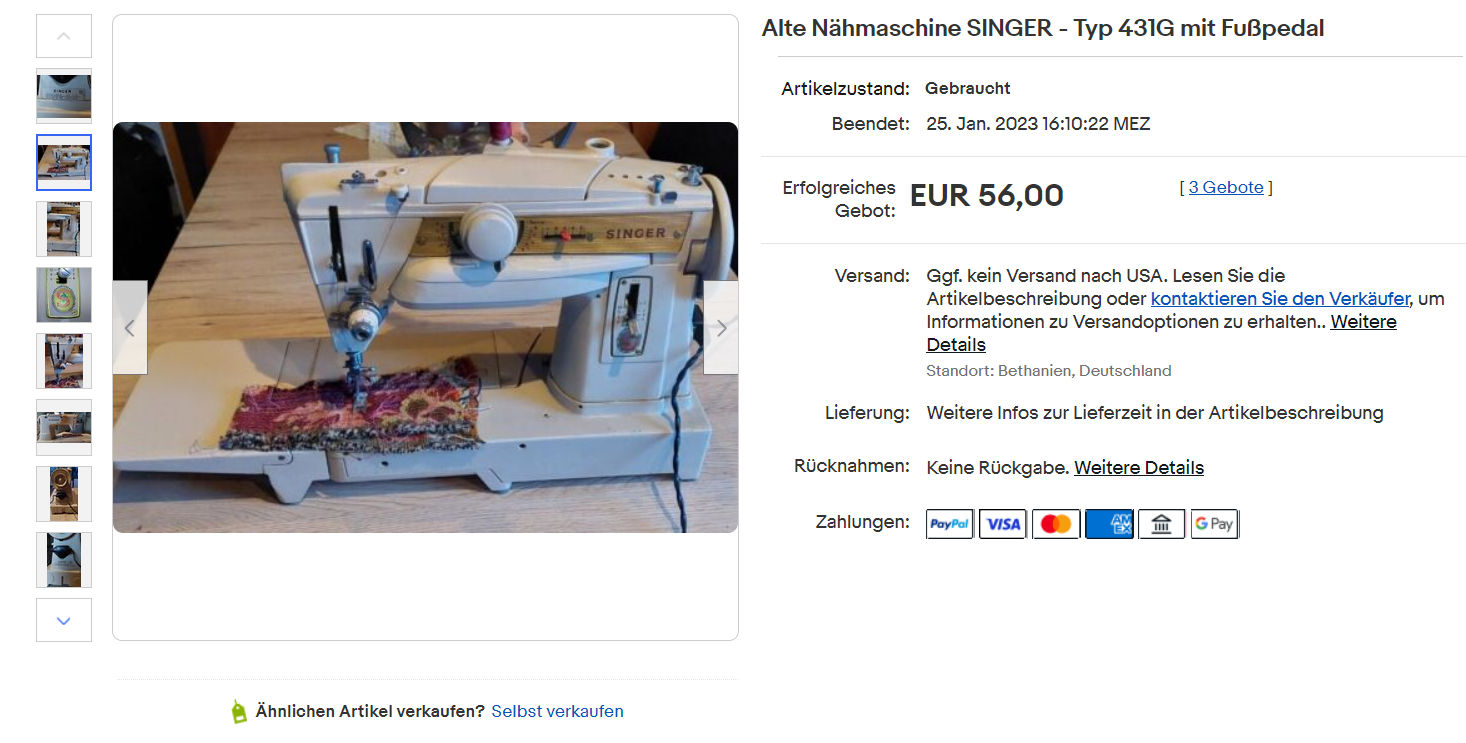
I was looking for a very rare Singer 431G but the only ones I found were on Etsy and they were priced between $600 and $900 U.S.
I took a chance and went to the German version of eBay (eBay.de).
I found German language listings that did not appear on eBay.com.
I found the following listing and paid around $60 USD and about $150.00 USD for shipping. So my total cost was a little over $200 USD.

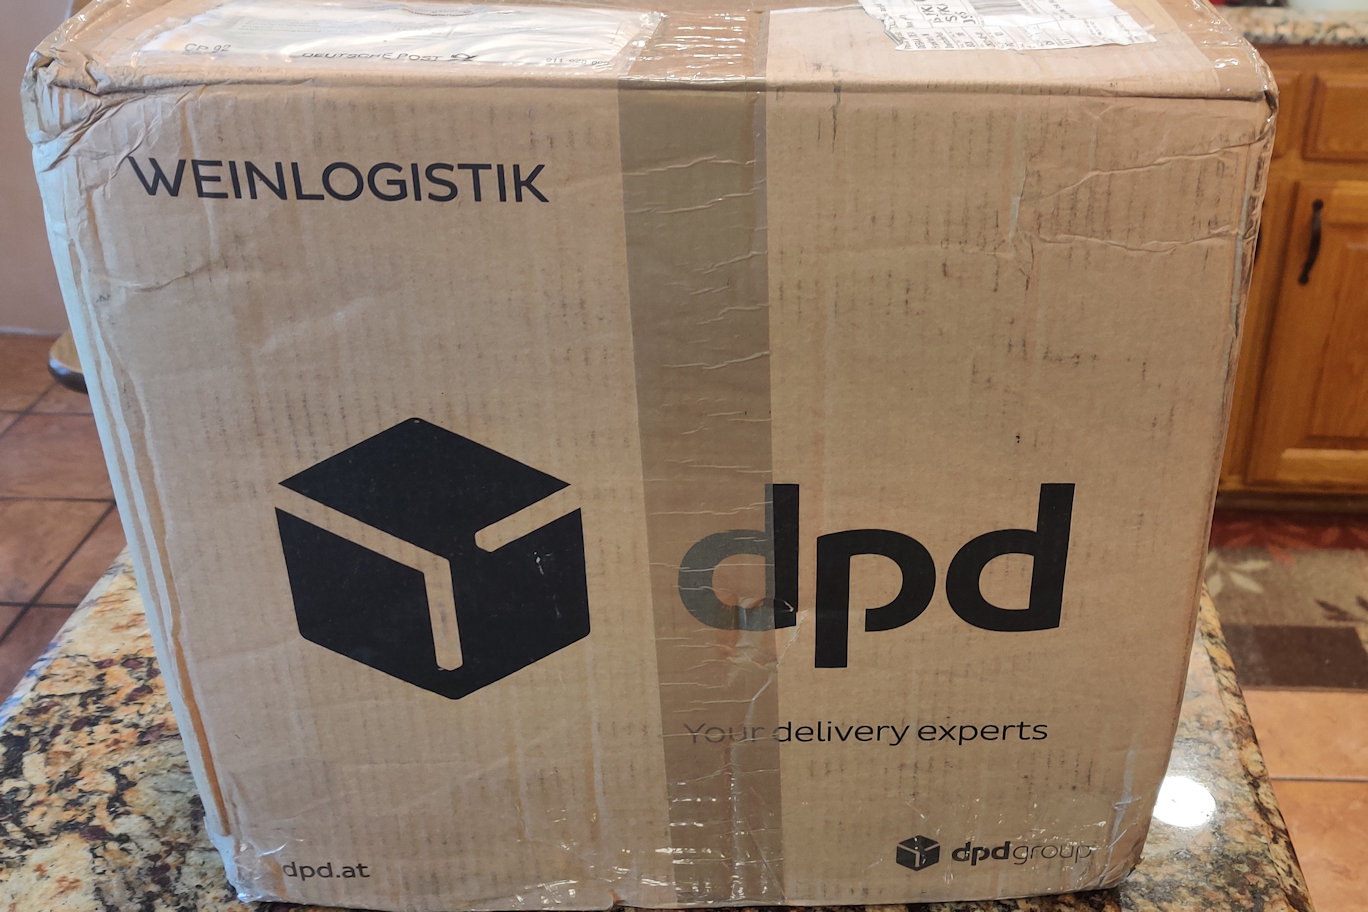
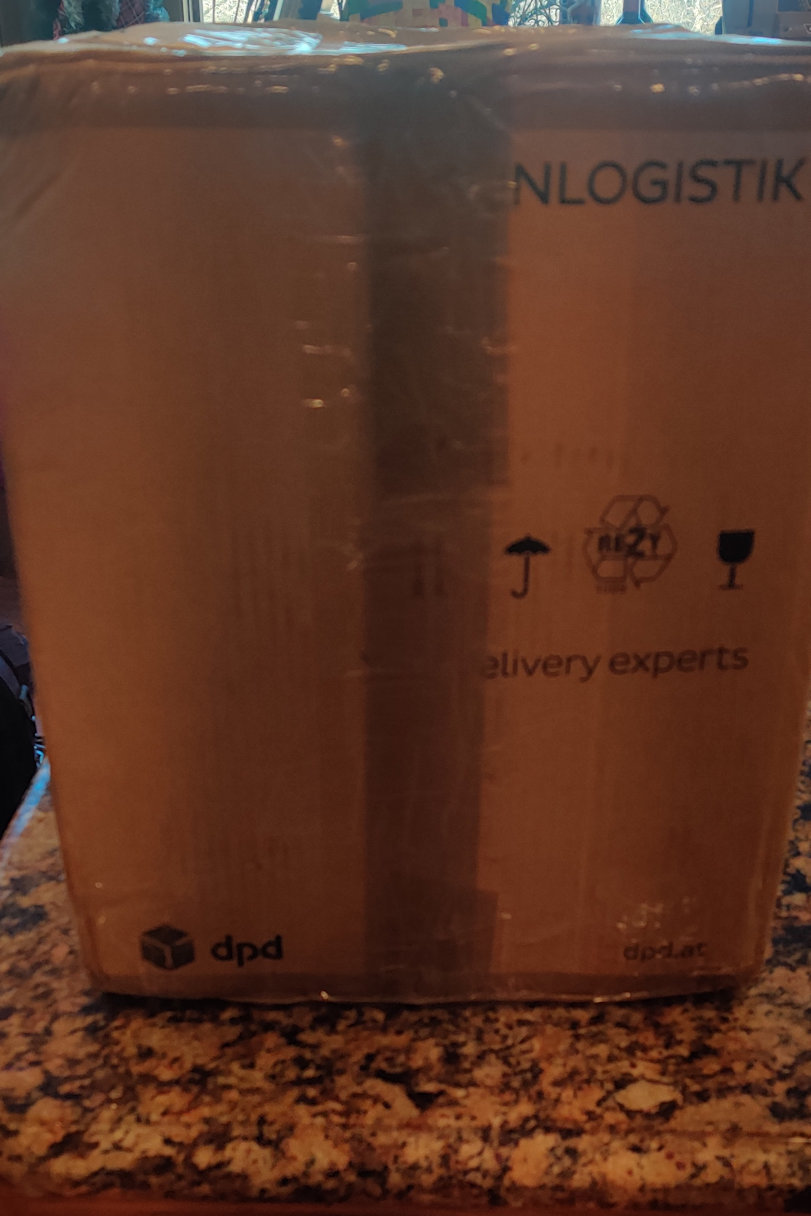
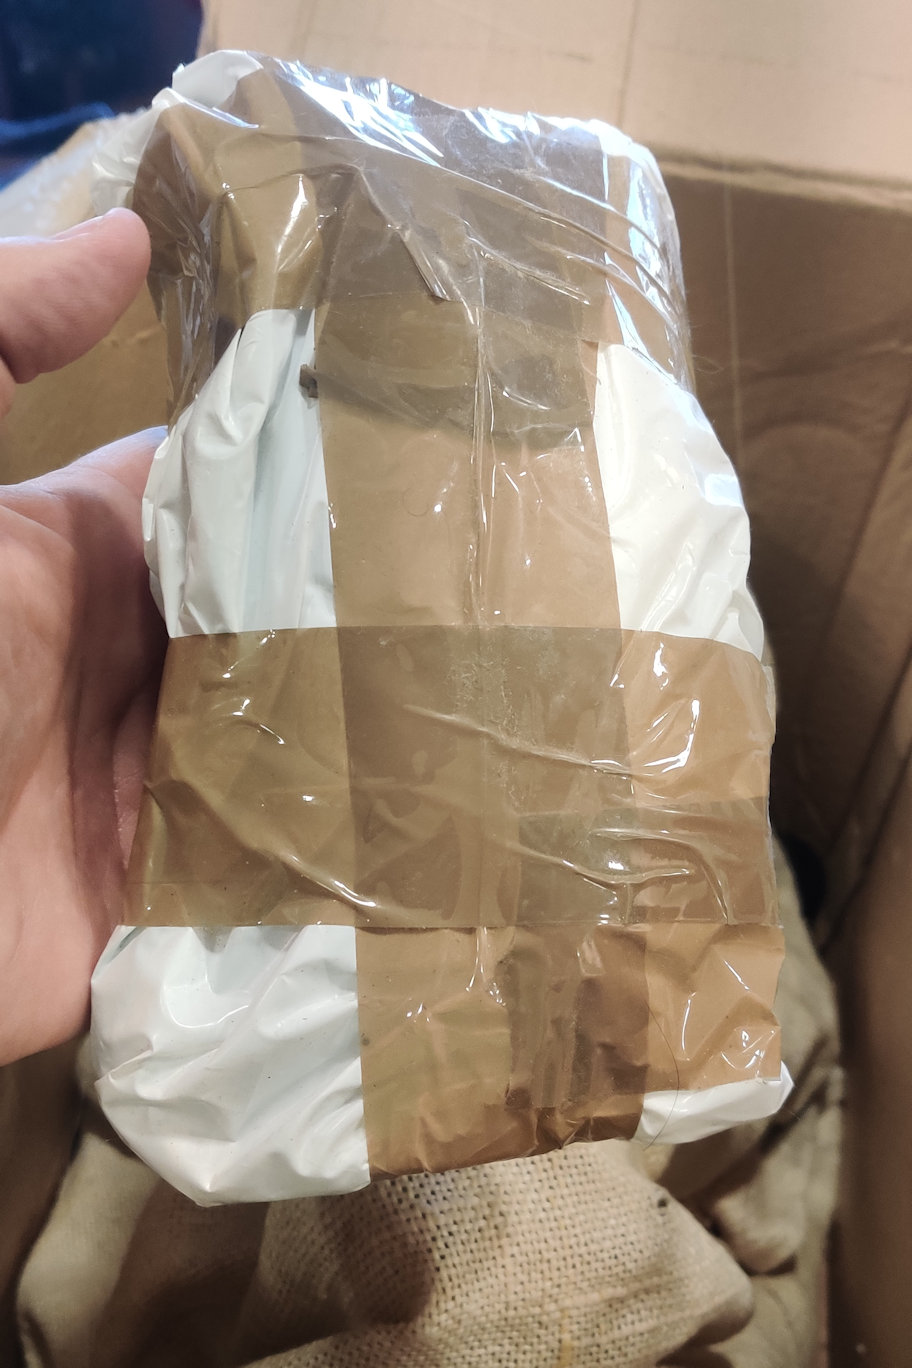
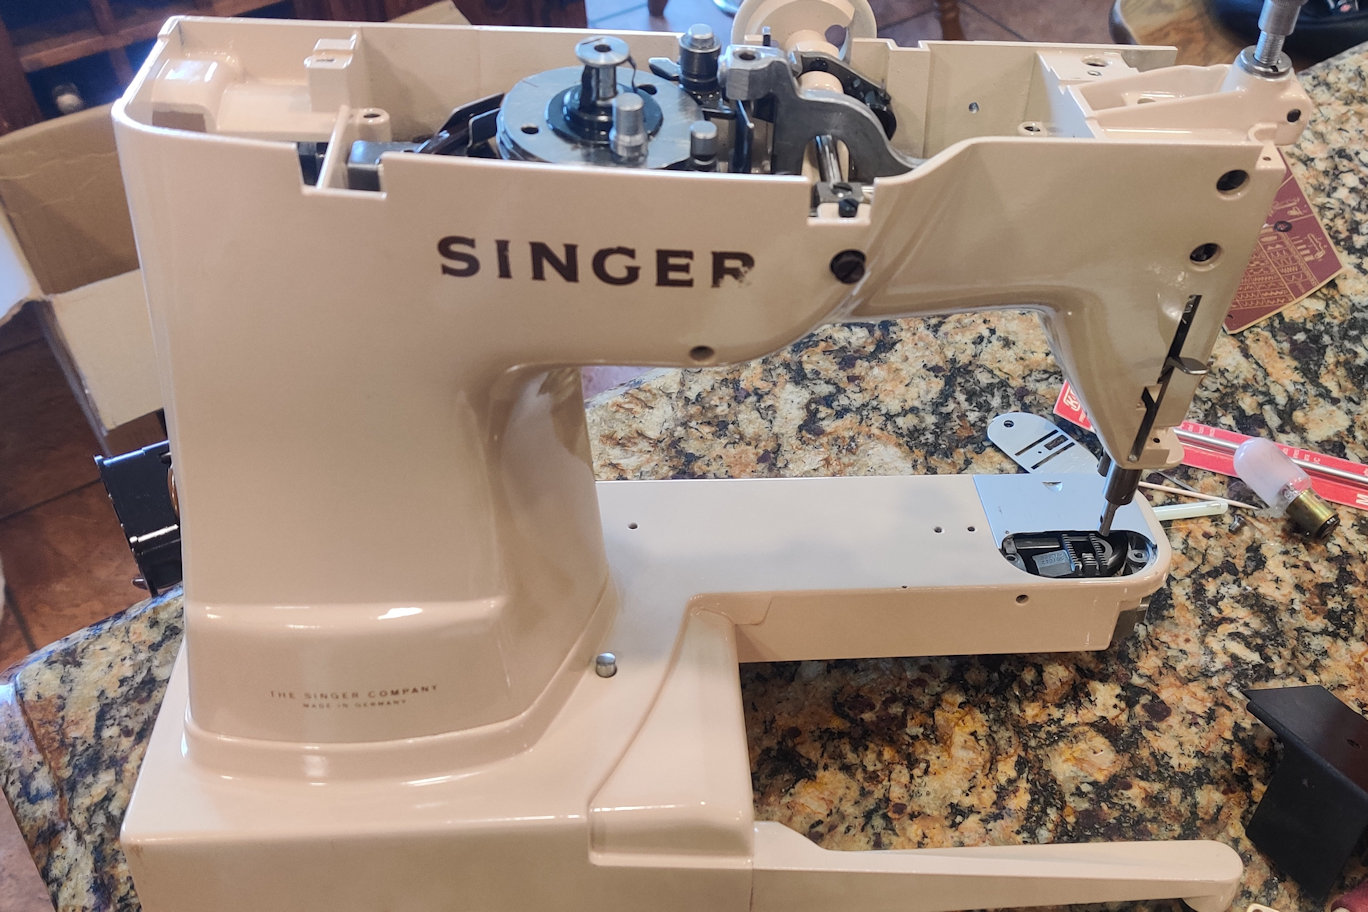
The package arrived a couple of weeks later. Here are some pictures of the unboxing.


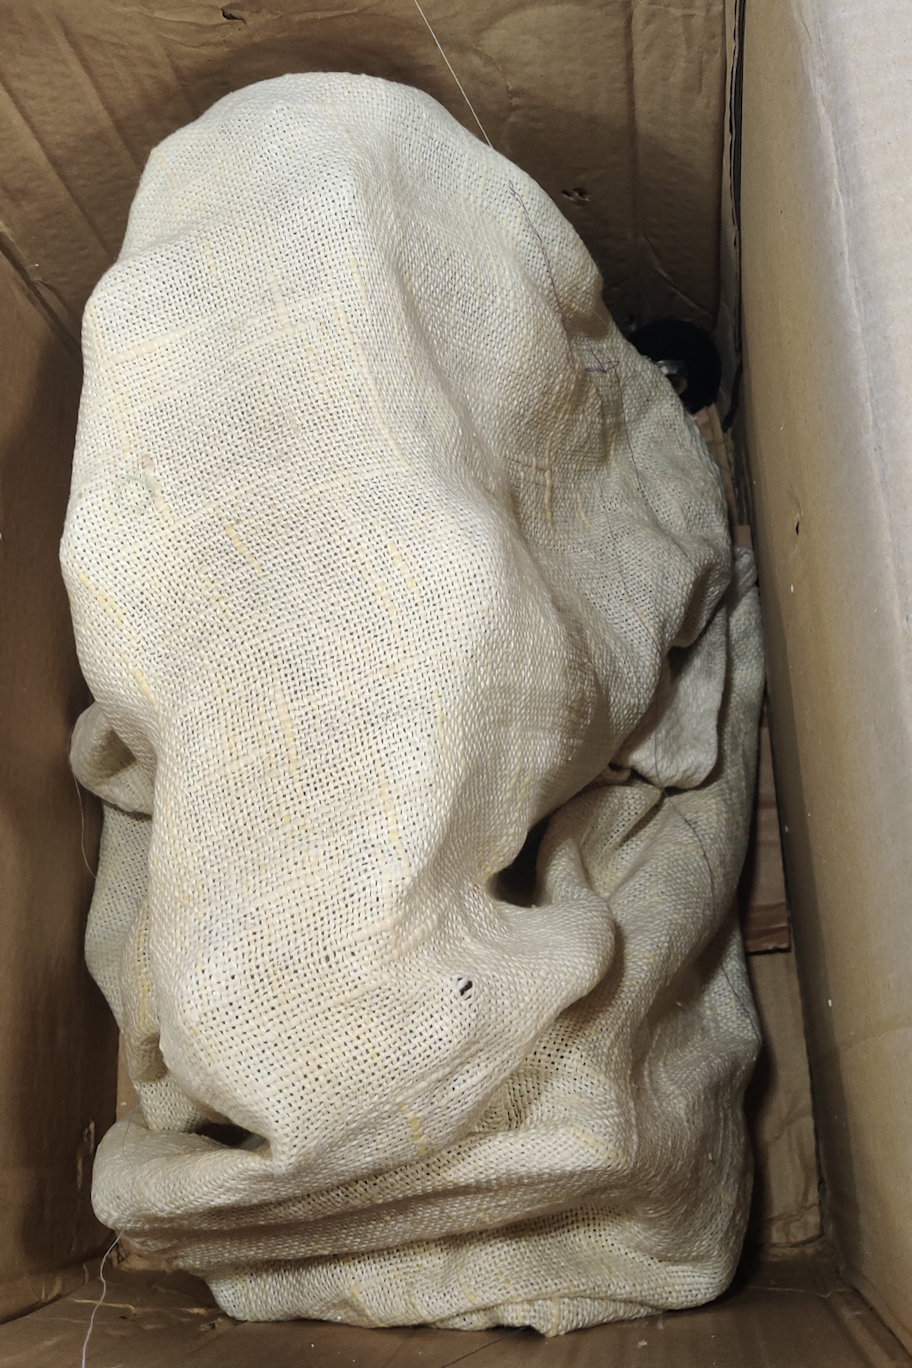

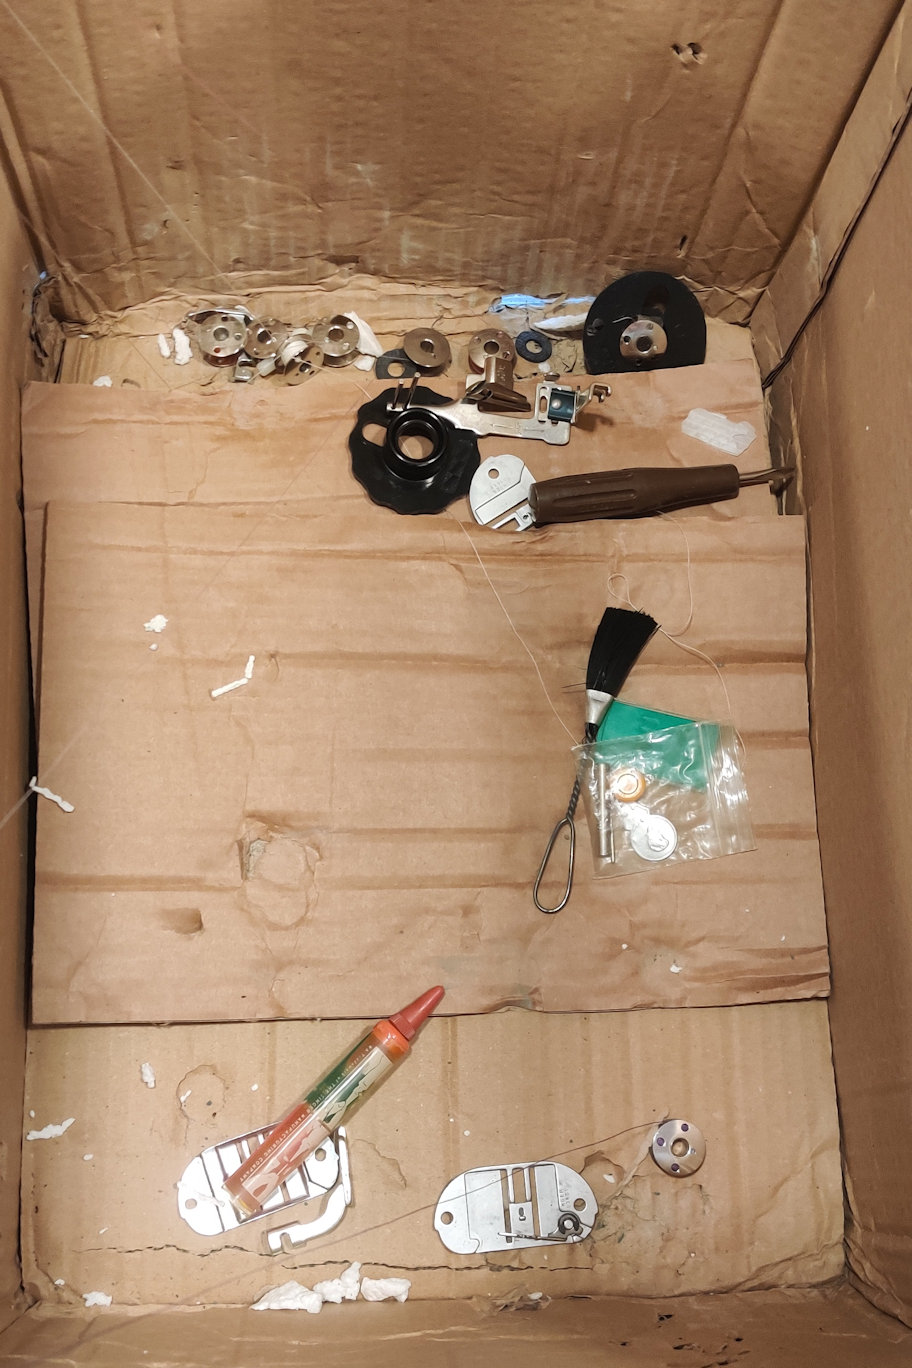


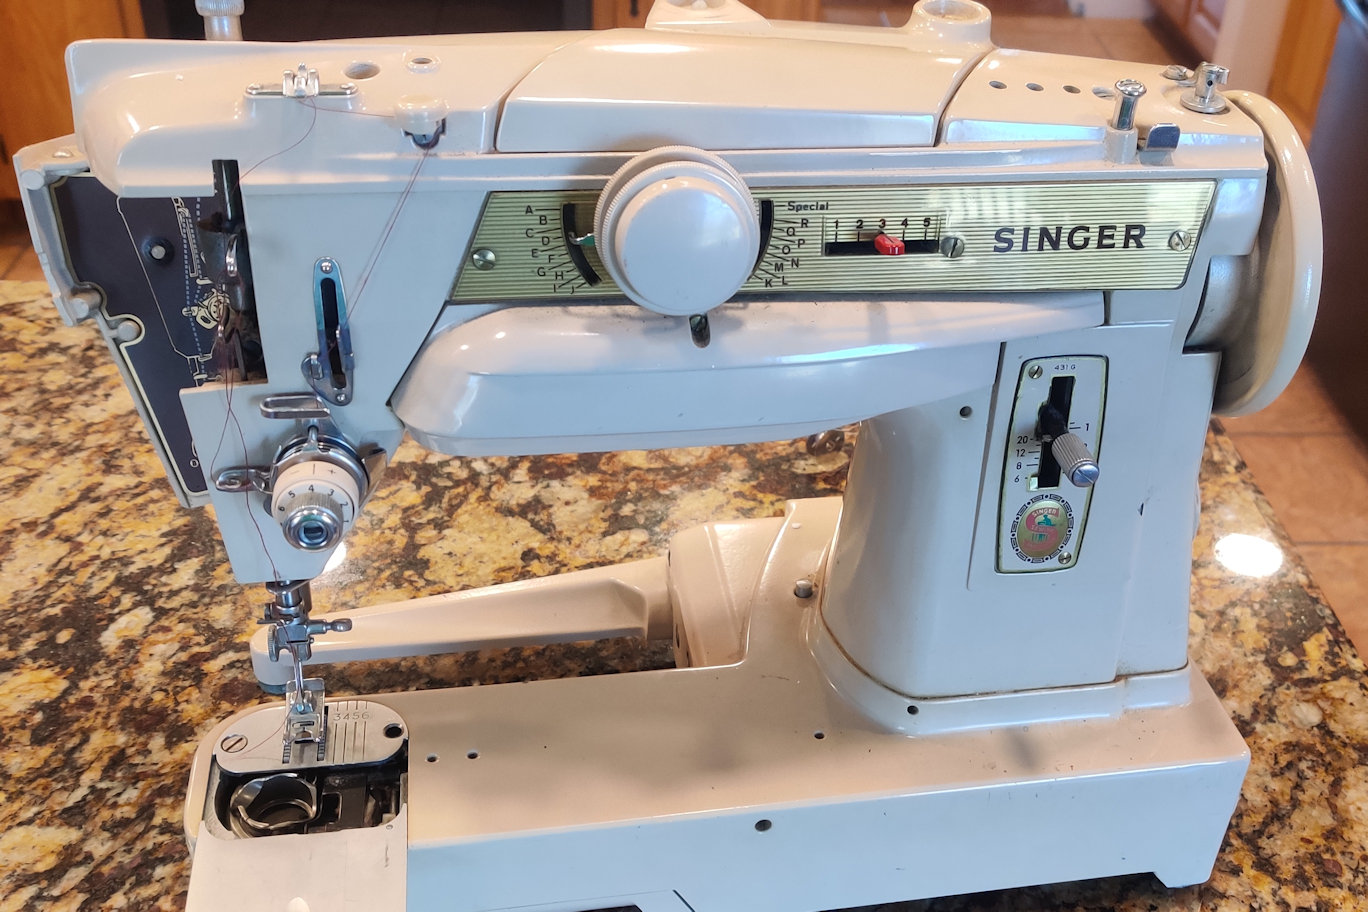


General Condition:
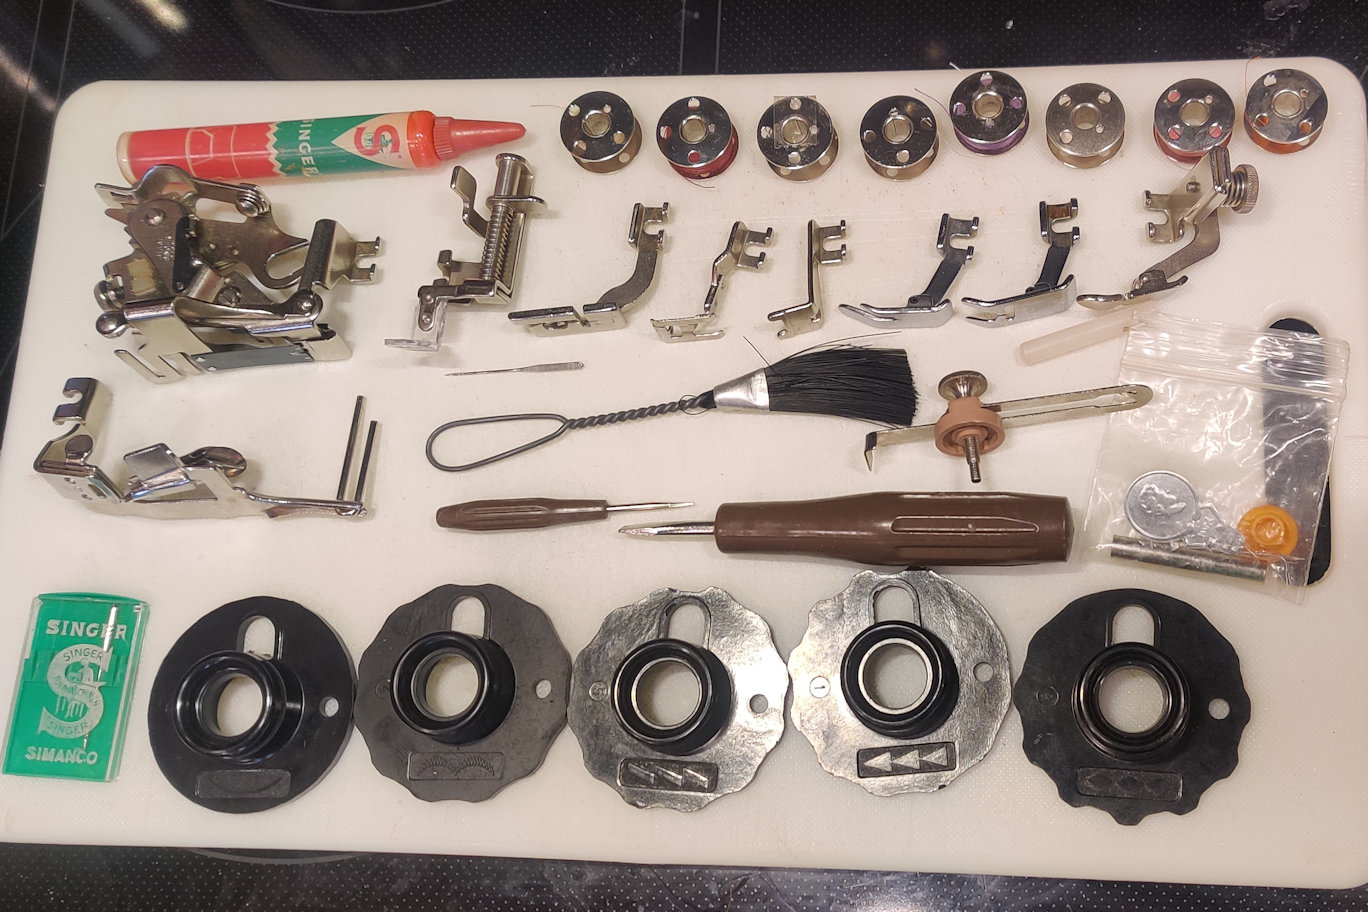
I knew the bed cushions (rubber feet) were bad from the original eBay listings so I had already ordered 4 new cushions. I did not realize the 431G actually requires 5 of these because there is an additional cushion on the bed extension.
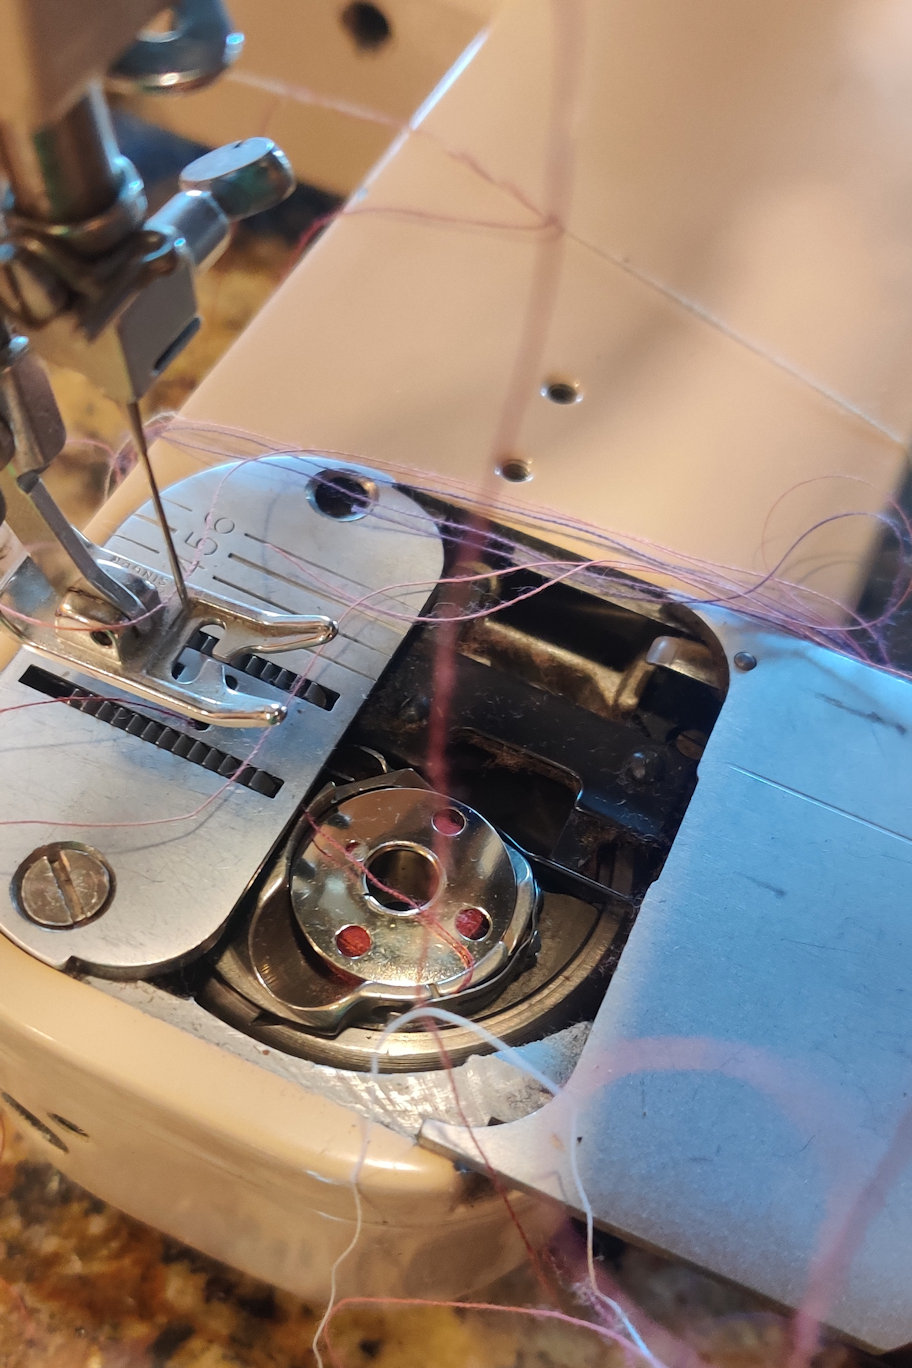
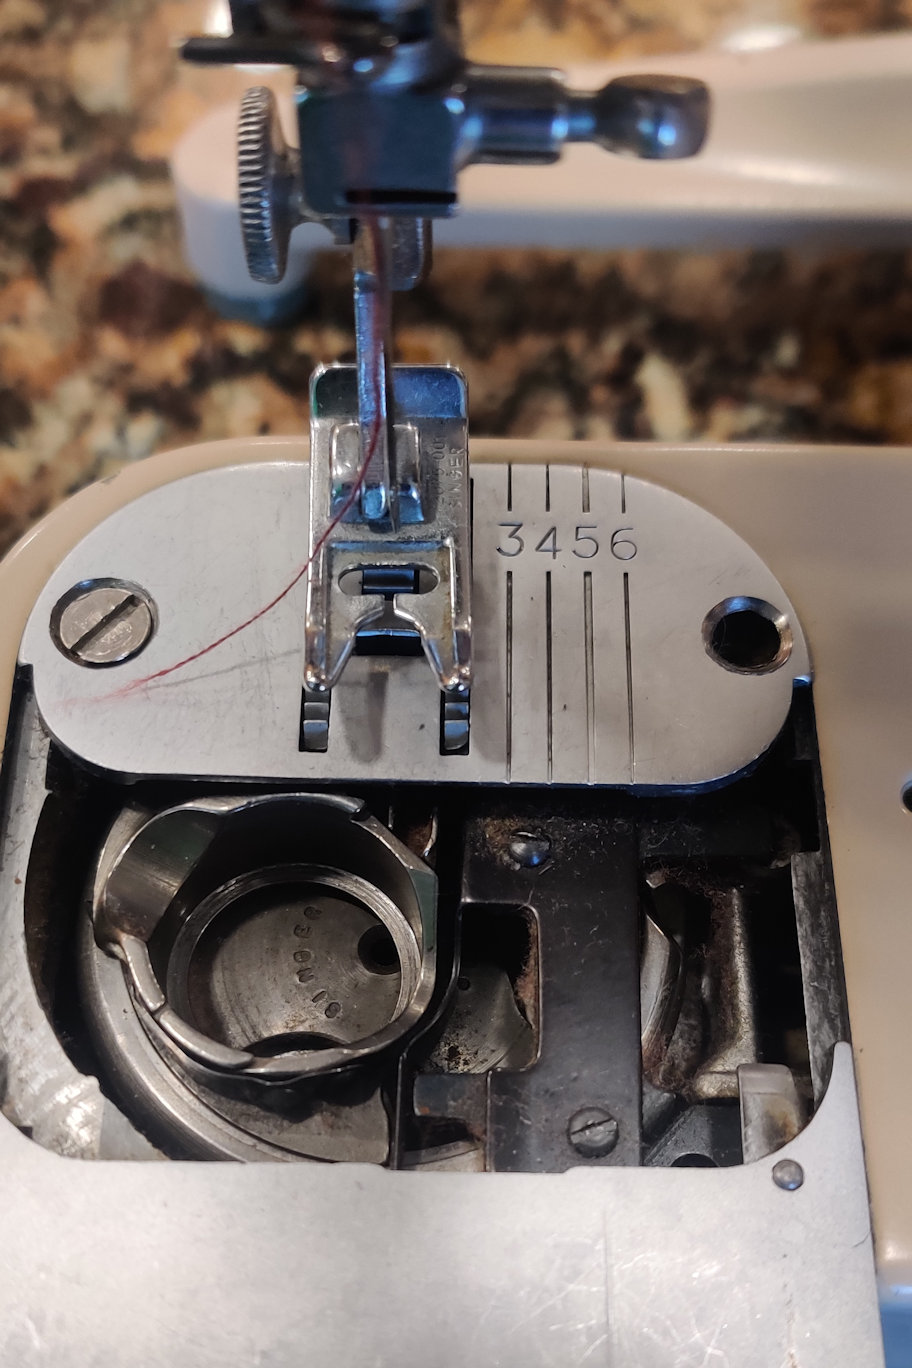
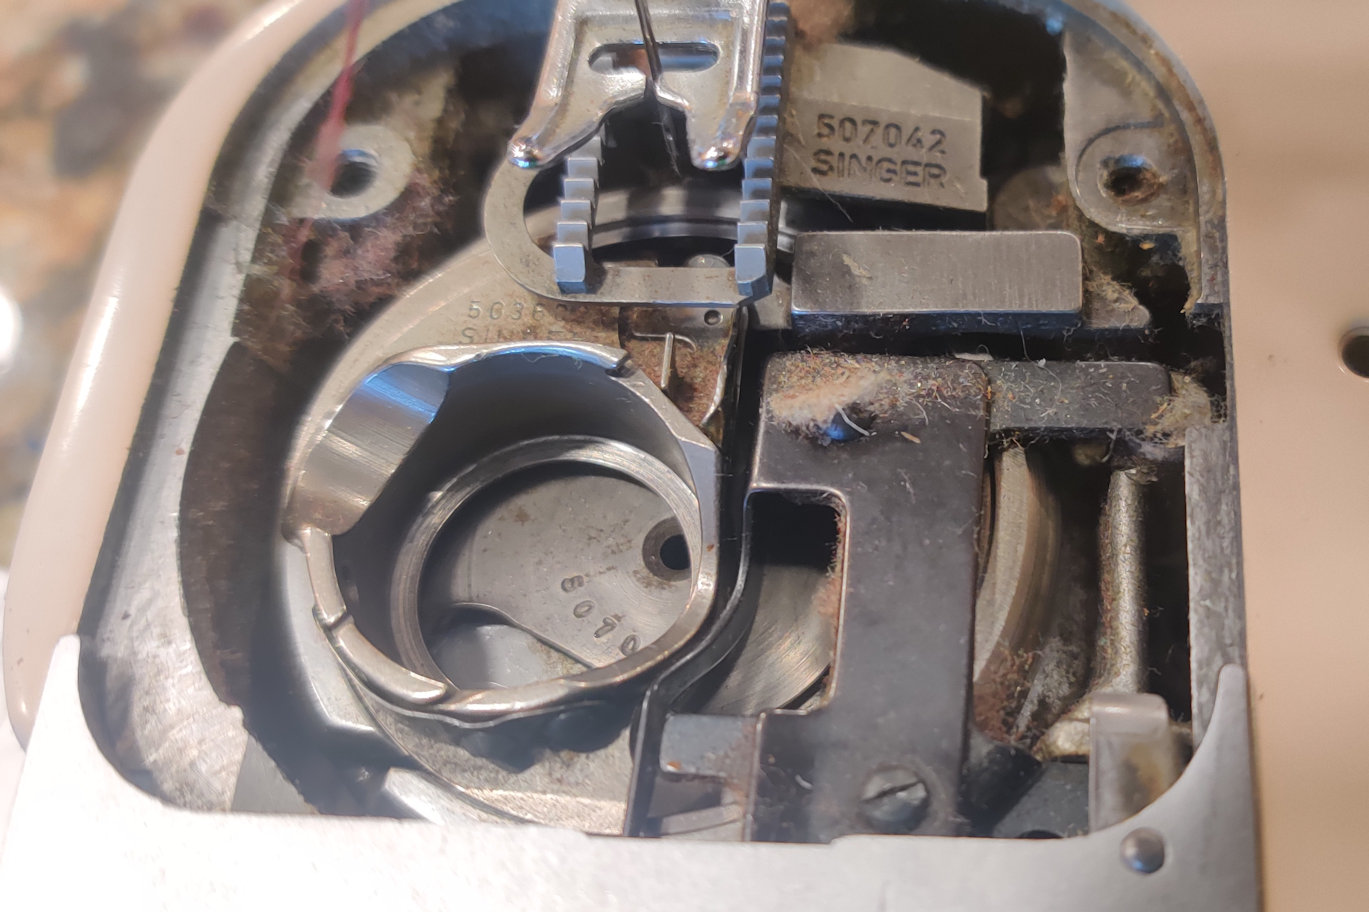
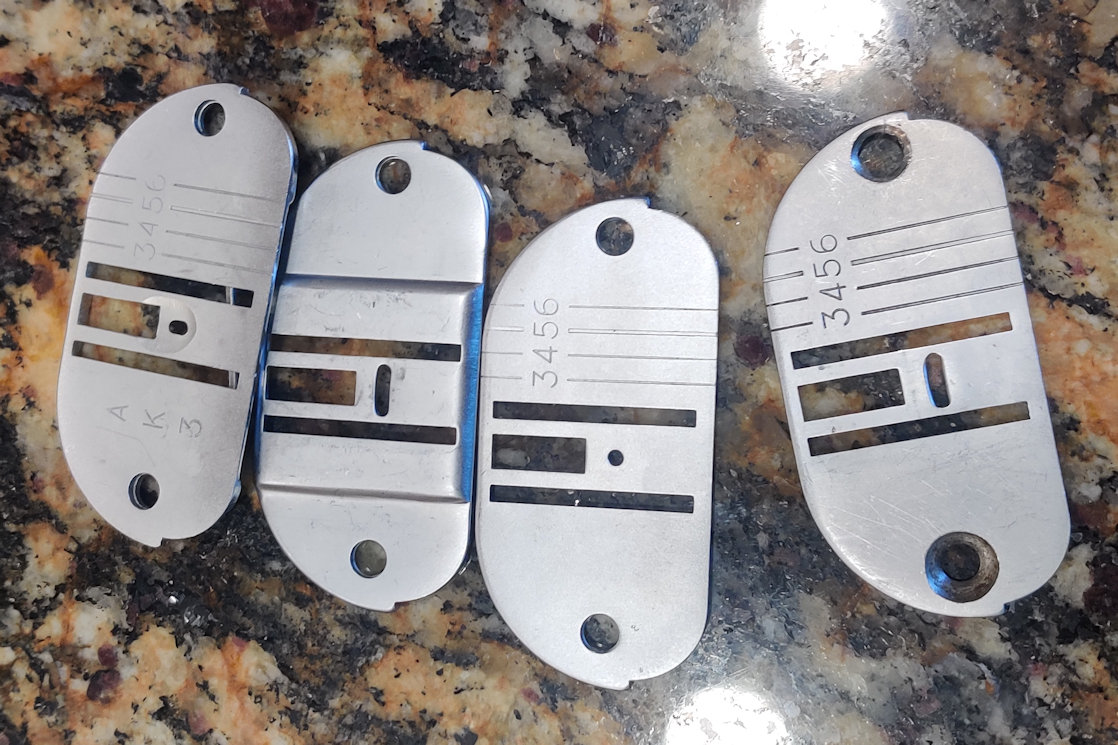
The needle plate pins were missing and someone had drilled the zigzag needle plate to accommodate a flat-head machine screw. One of the needle plate pin holes was threaded but the minor thread dimensions were still the same size as the needle pin. The right pin hole seemed very shallow and I found there was part of a broken pin stuck inside this hole.
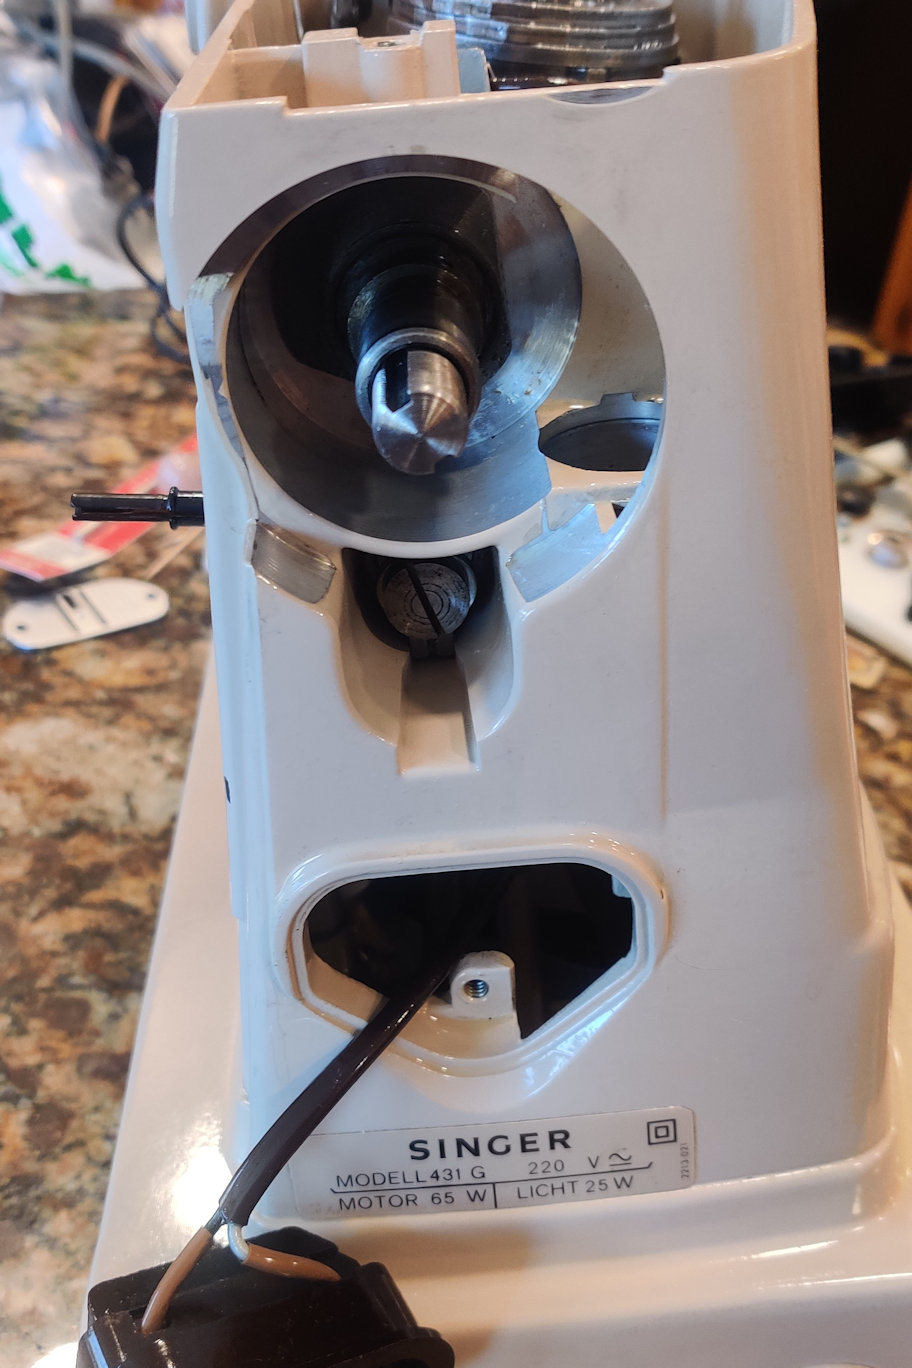
I thought there was something wrong with the light switch but these work differently than the switches on the same era of U.S. made Singers. The switch does not continue to turn in the clockwise direction to turn the light on and off. It turns one direction for on and the other direction for off.
Both of the plastic spool pins were missing or broken. I tried to order some Singer #507077 Spool Pins but they were back-ordered.
There is a great article at the following website about replacing and modifying the spool pins. I took a slightly different approach that I describe, below.
The same site has a great article on the needle plate pins.
When I removed the pattern plate from the lid to expose the spool pins, the clip broke and could not be re-used.
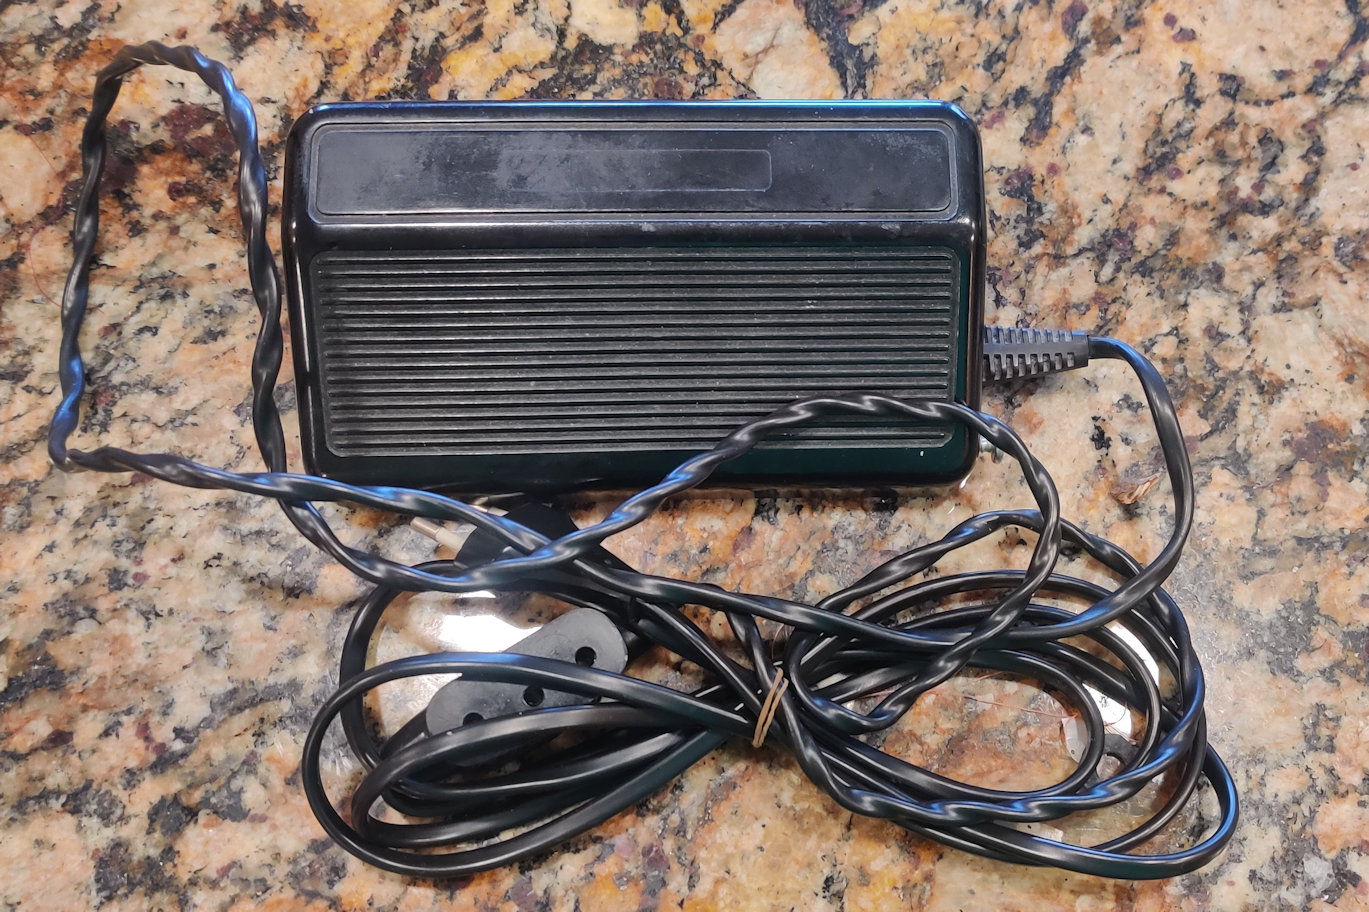
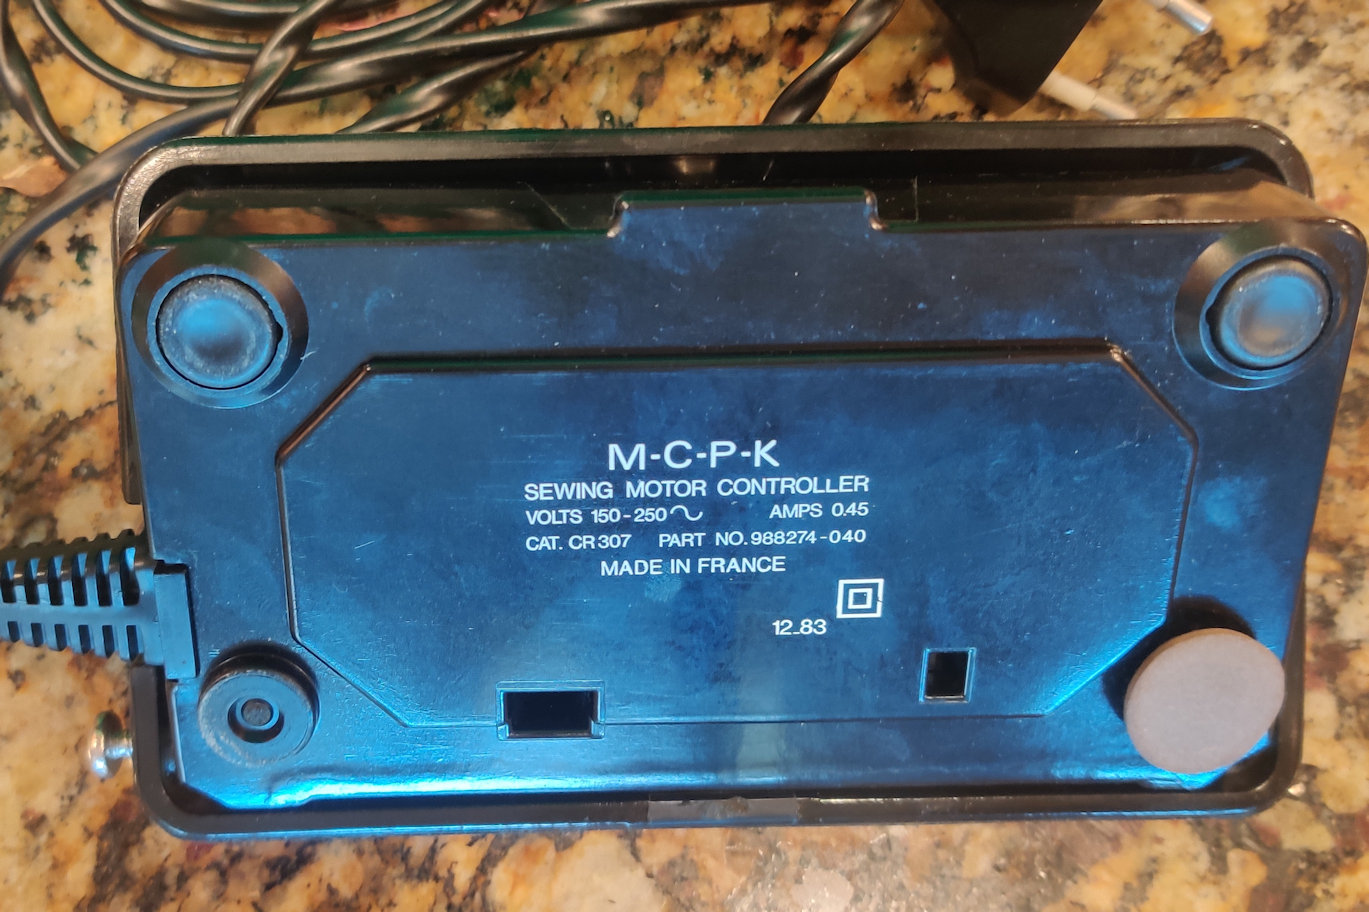
The foot pedal had been repaired and did not test well with an ohm meter. I had planned to replace all or part of the electronics because I wanted to use this 220V machine in the U.S. without a step-up transformer.
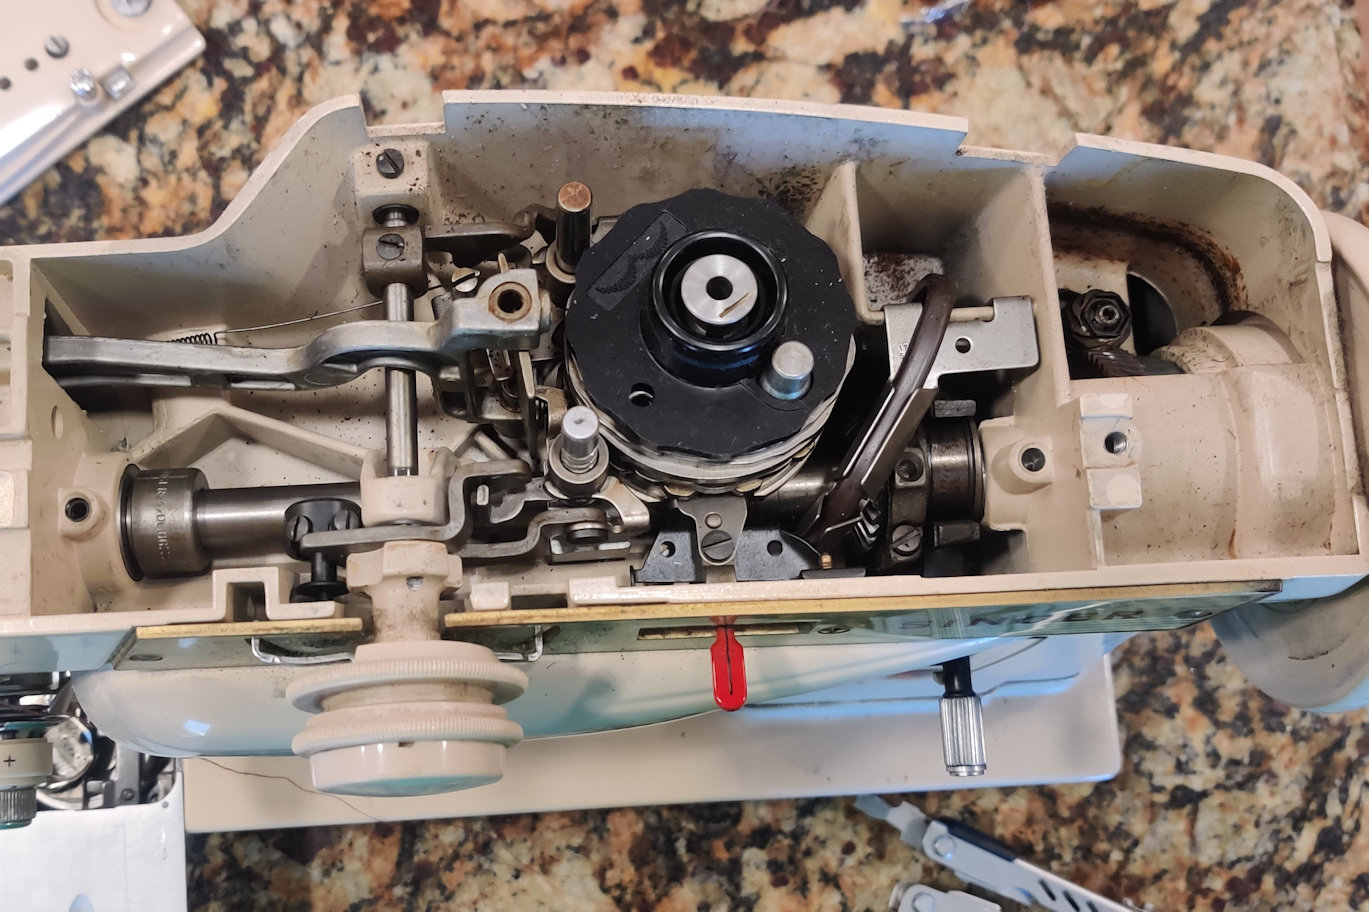
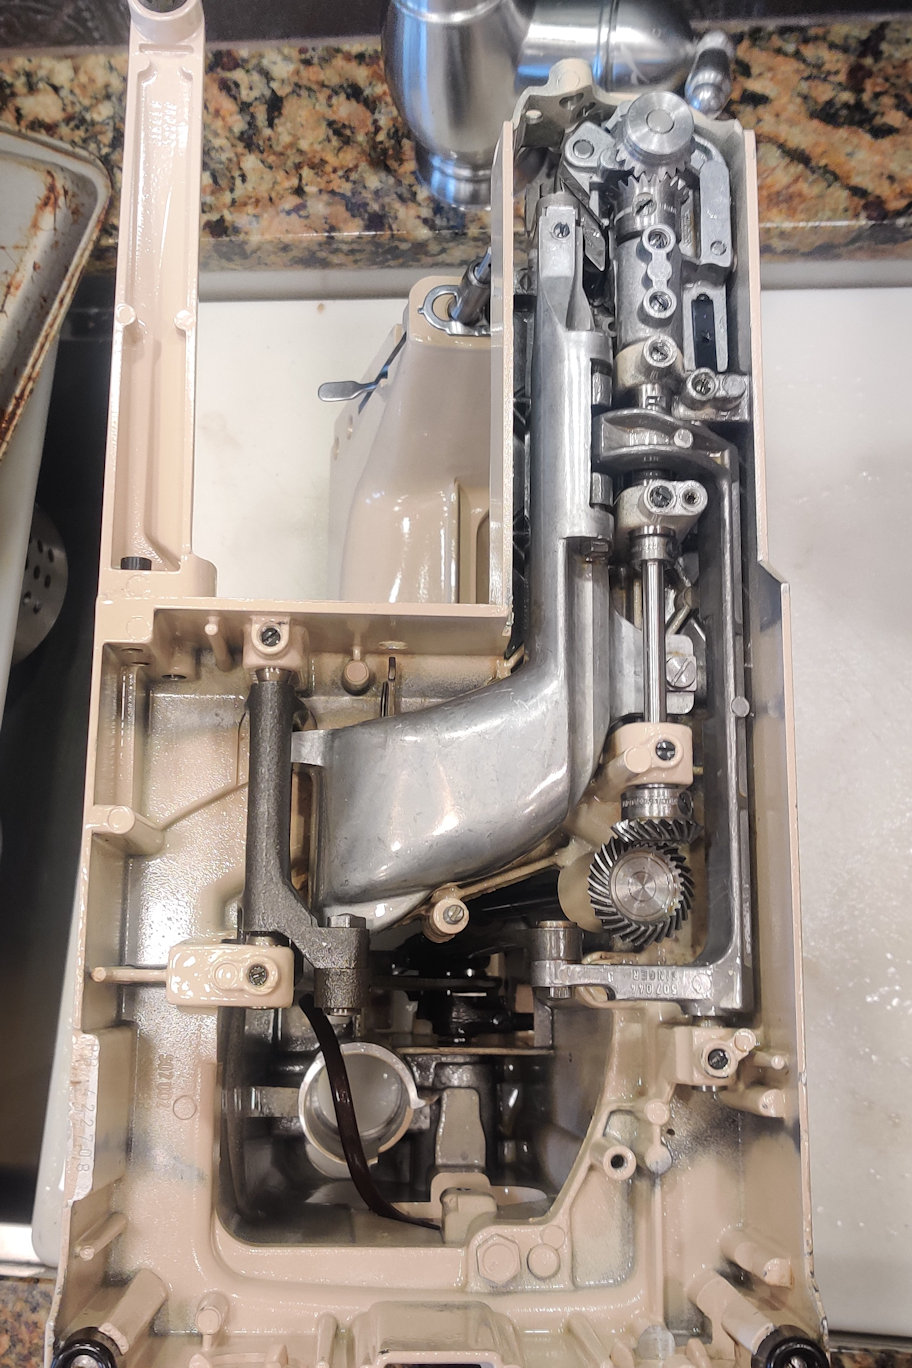
Cleaning the machine:
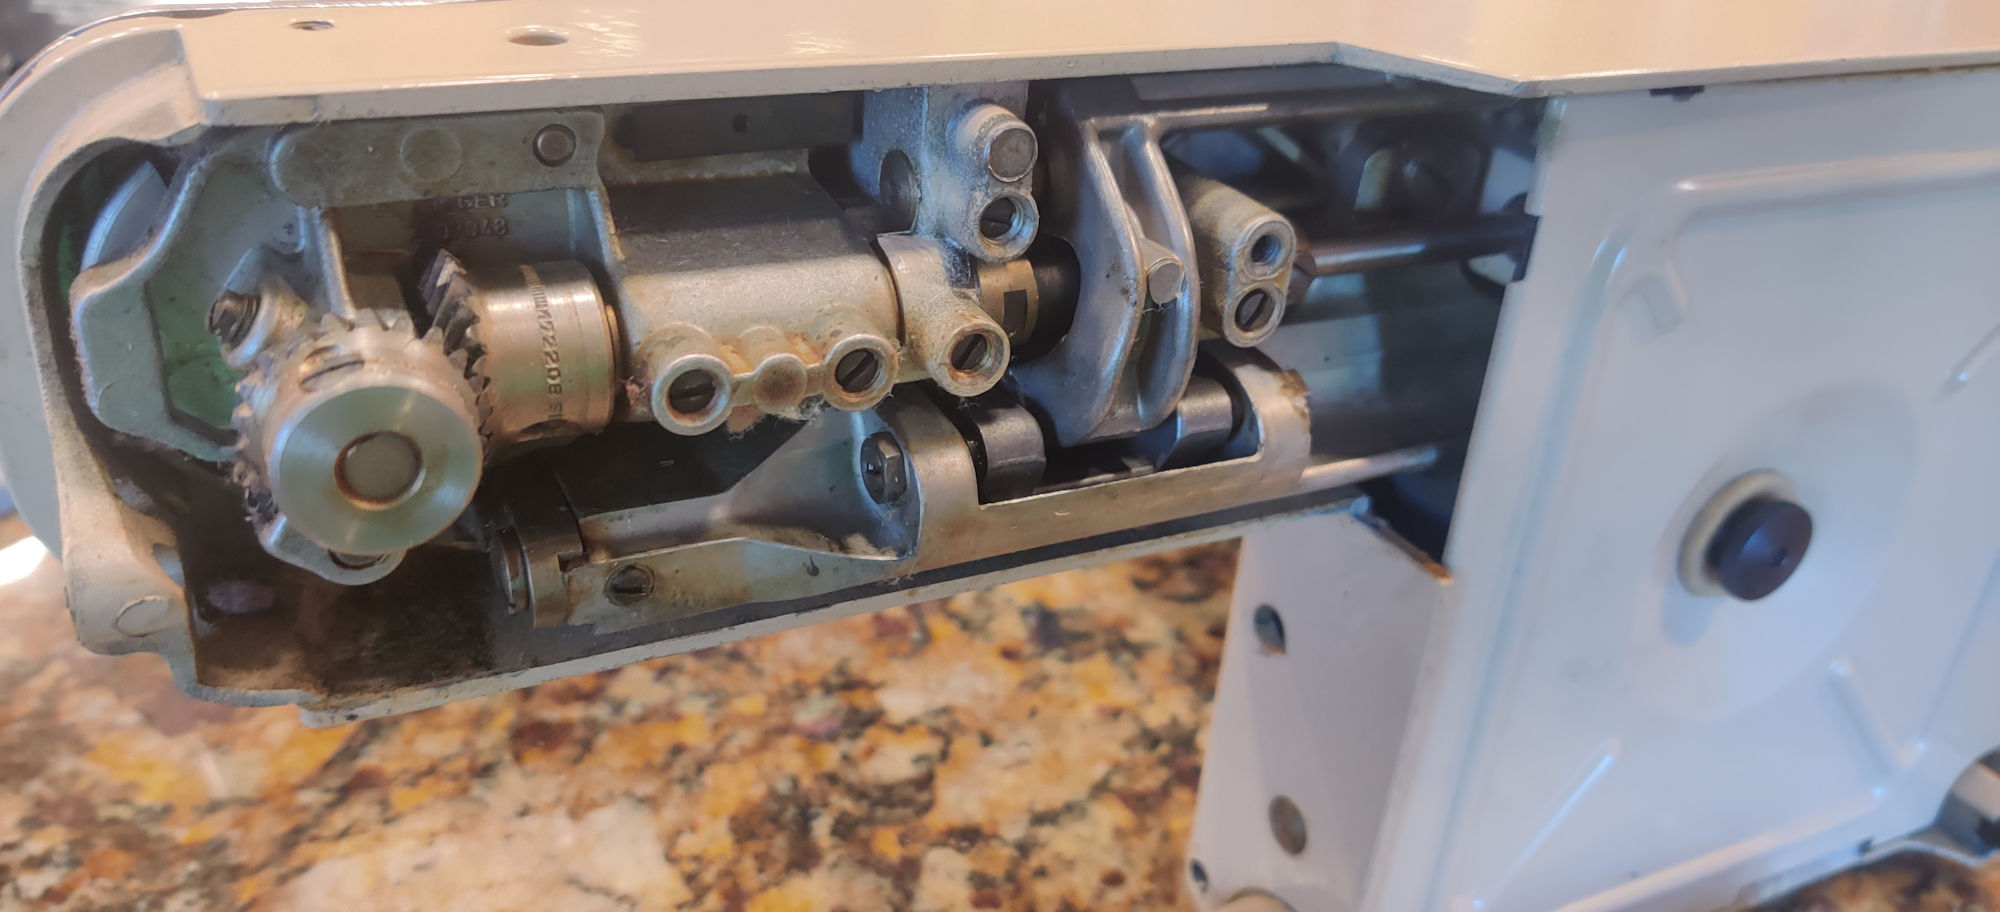
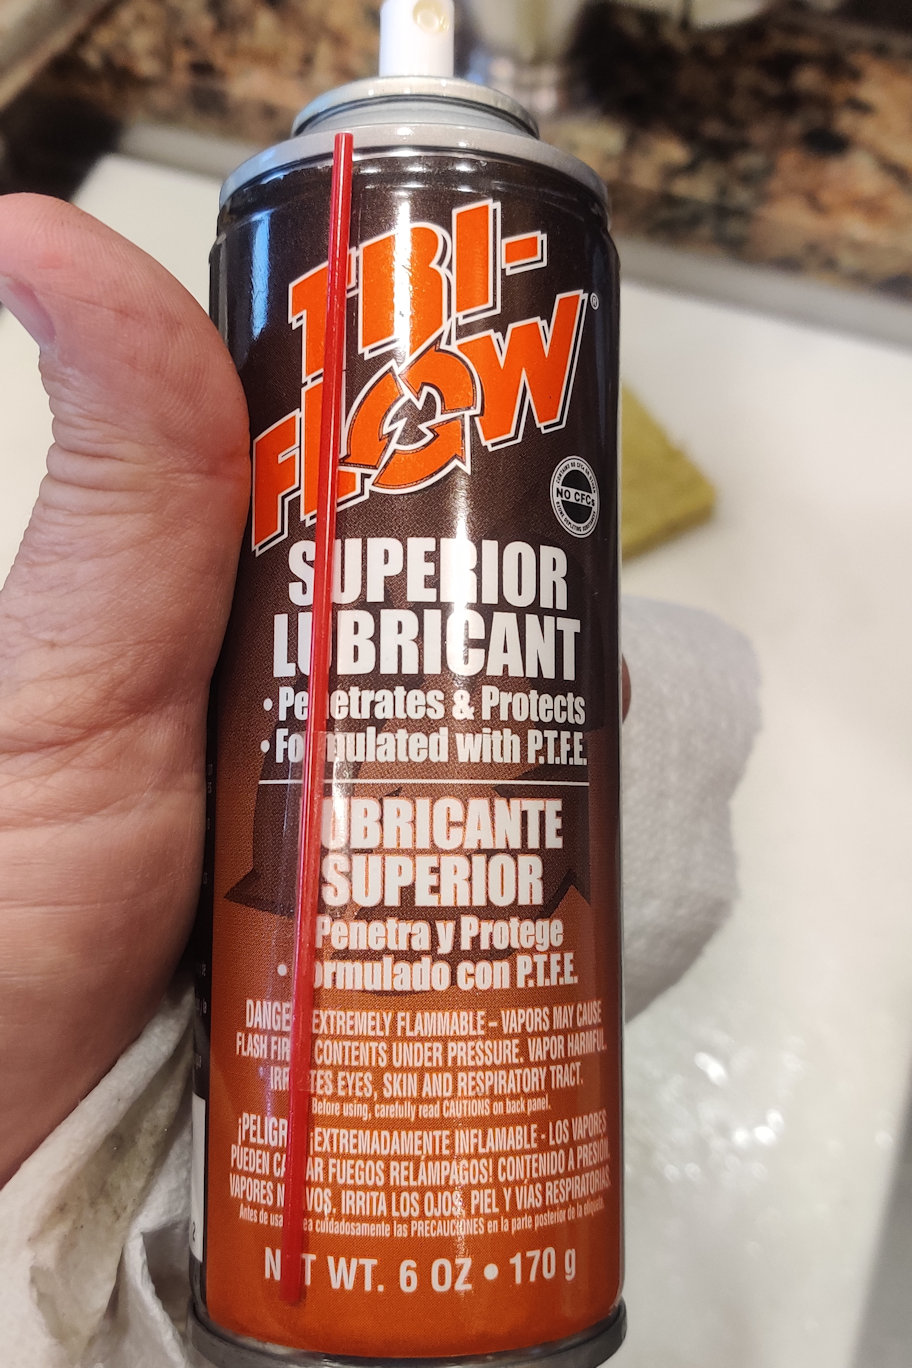
I removed most of the parts from the machine so I could give it a thorough cleaning. I purchased some Tri-flow to clean and lubricate the machine. It did not do a good job of cleaning out the old grease, so I switched to a heavy duty de-greaser. WD-40 spray can also help with de-greasing and it is metal-friendly.
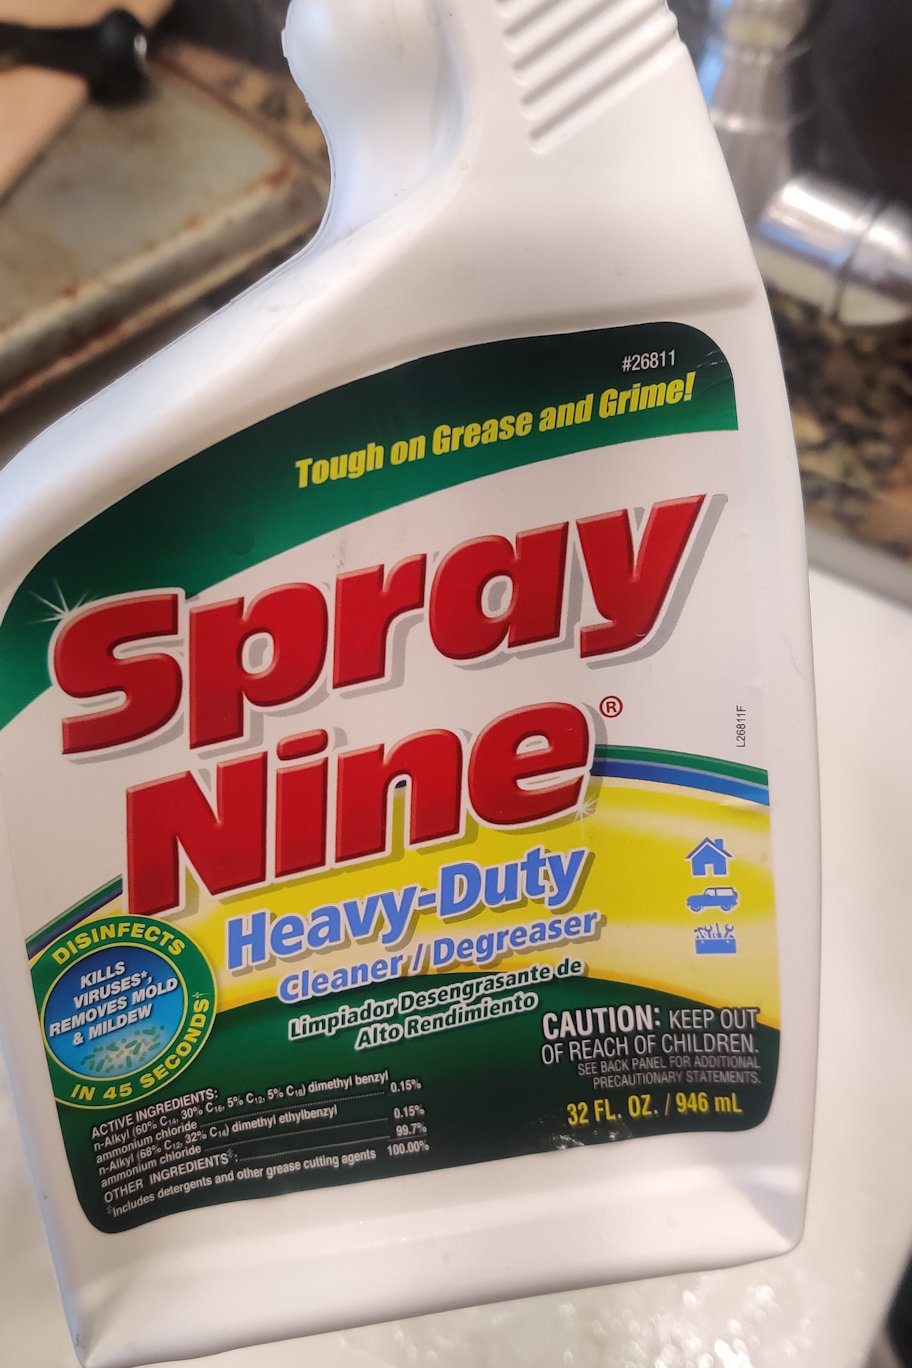
I sprayed the machine down with the de-greaser and used a toothbrush and toothpicks to remove the old oil and grease. I finished by washing the machine out with water.
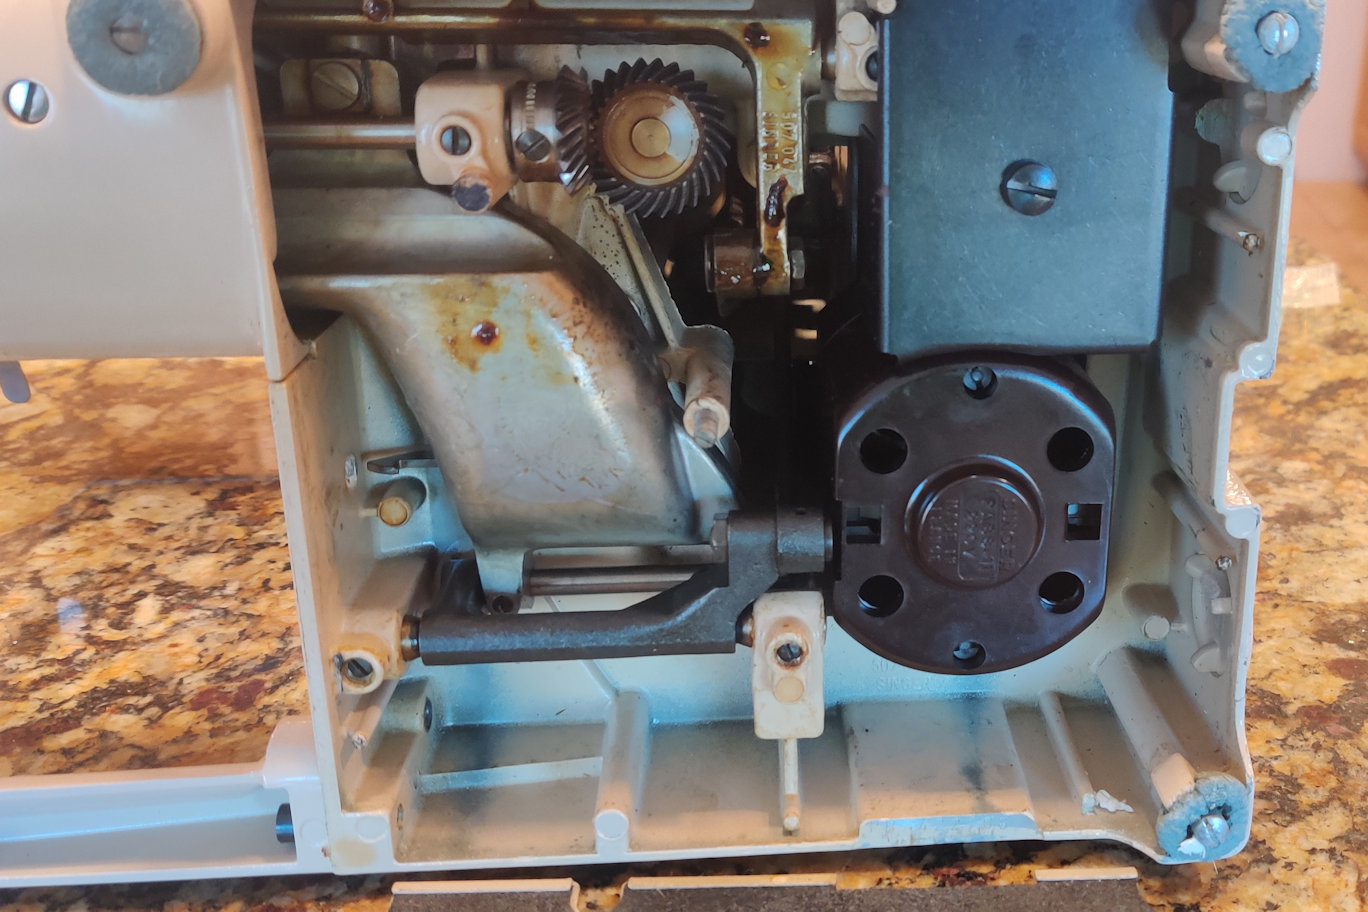
There are a few parts inside these machines that are not plated and they will rapidly rust once all the oil is removed.
I dried out most of the water with compressed air and followed up with a liberal coating of Tri-flow.
When I finished, the machine looked shiny and new.
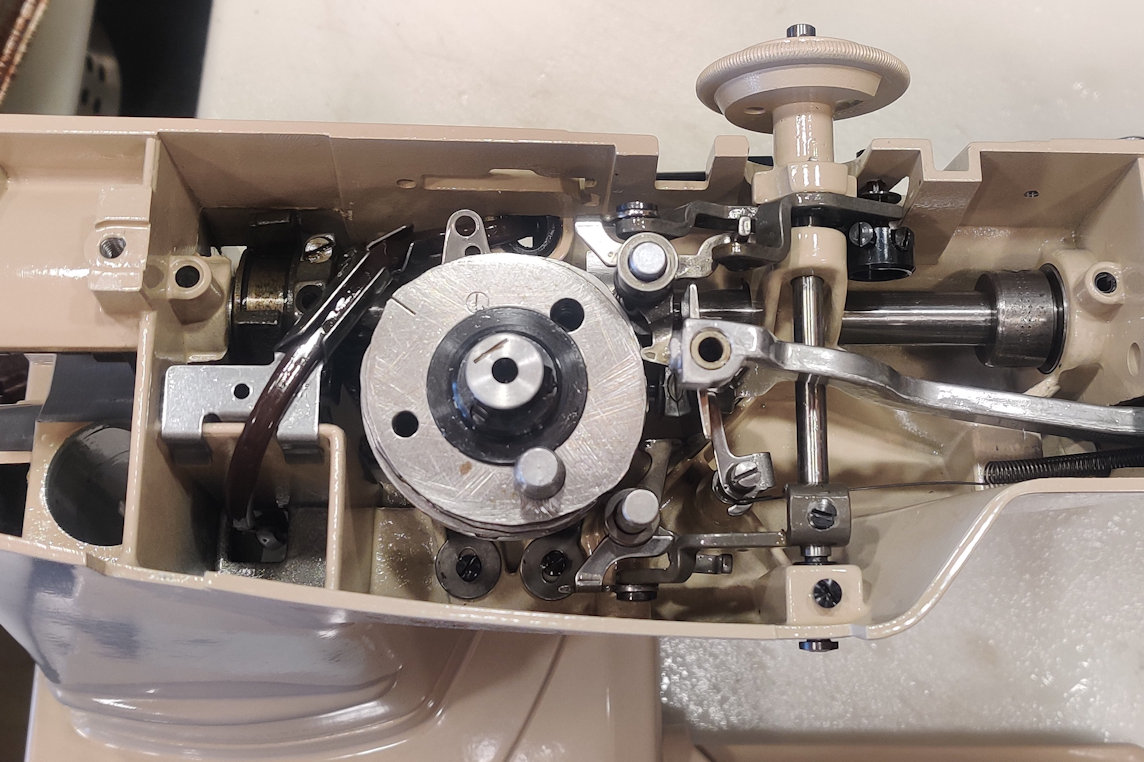


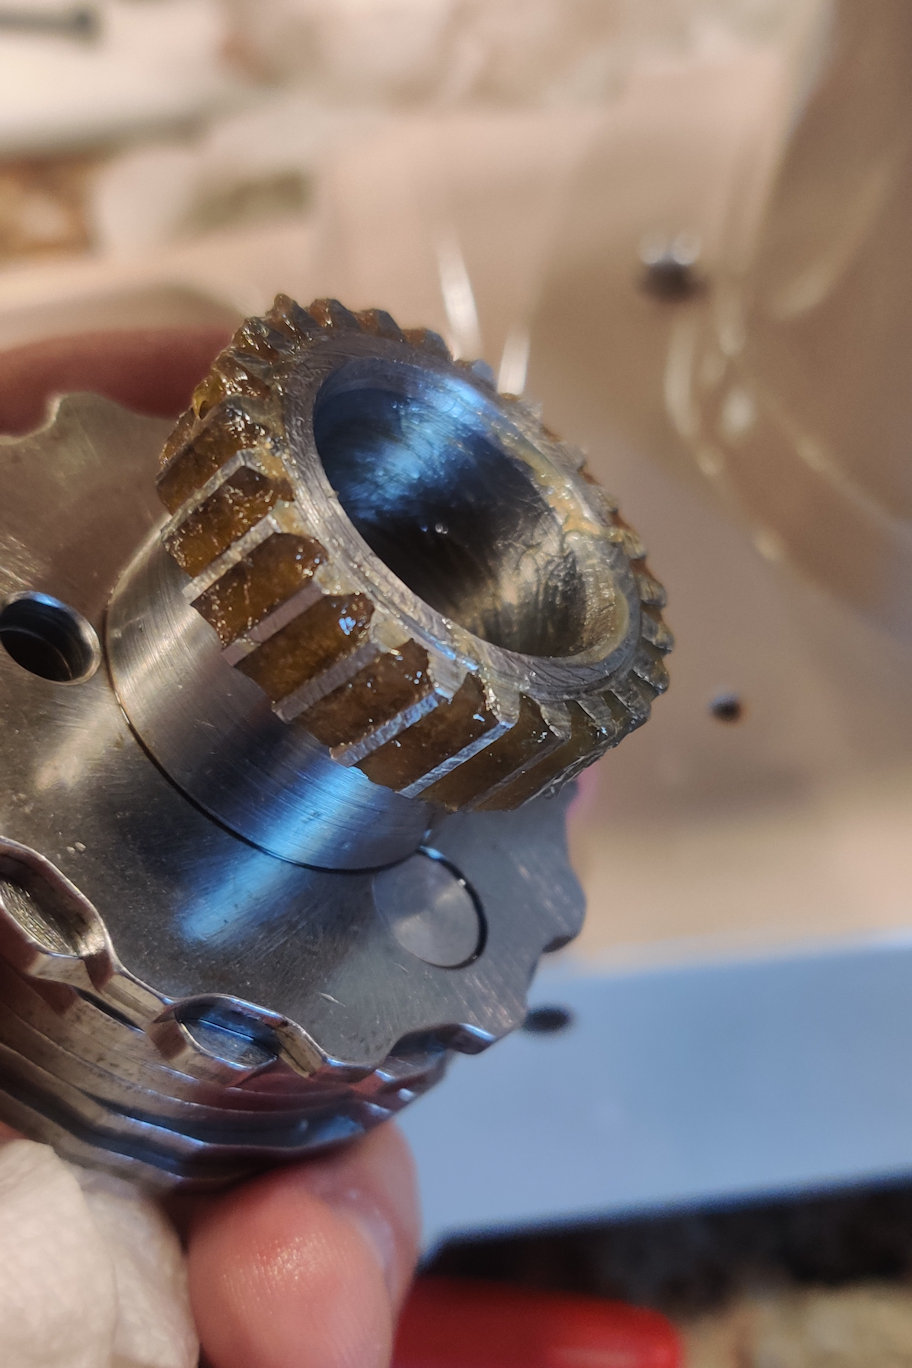
I applied sticky silicone grease to all the gear teeth.

I also recently bought a 431 from ebay and had it shipped from the UK to California (https://www.ebay.com/itm/374487942707). Mine was a bit more expensive, but very reasonable considering the very fine condition of the machine, just a couple of fine cracks in the hand wheel and a missing spool pin. My only surprise was the tax imposed by CA. I oiled & greased with Triflow. I replaced the bulb with an LED. It doesn’t fit right, but I didn’t do any modifications and it works anyway. I bought a voltage converter from Amazon and it does the job well leaving my machine as is electrically (220v) (https://www.amazon.com/gp/aw/d/B07PS3NKWS?psc=1&ref=ppx_pop_mob_b_asin_image). I bought a couple replacement spool pins to keep the colors matched along with nylon washers, rubber grommets & a snap rings from the hardware store… works OK. I also bought the chain rings if I later decide to go that way. I haven’t checked to see if they fit through the rubber grommet holes. All in all, I’m very happy with the machine and have already given it a run making a pair of PJs